Turn a Photo Into a Comic Character: Review, Save and Select It

GenToon
Oct 12, 2026 · 5 min read
An example comic created with GenToon AI.
From photo to character
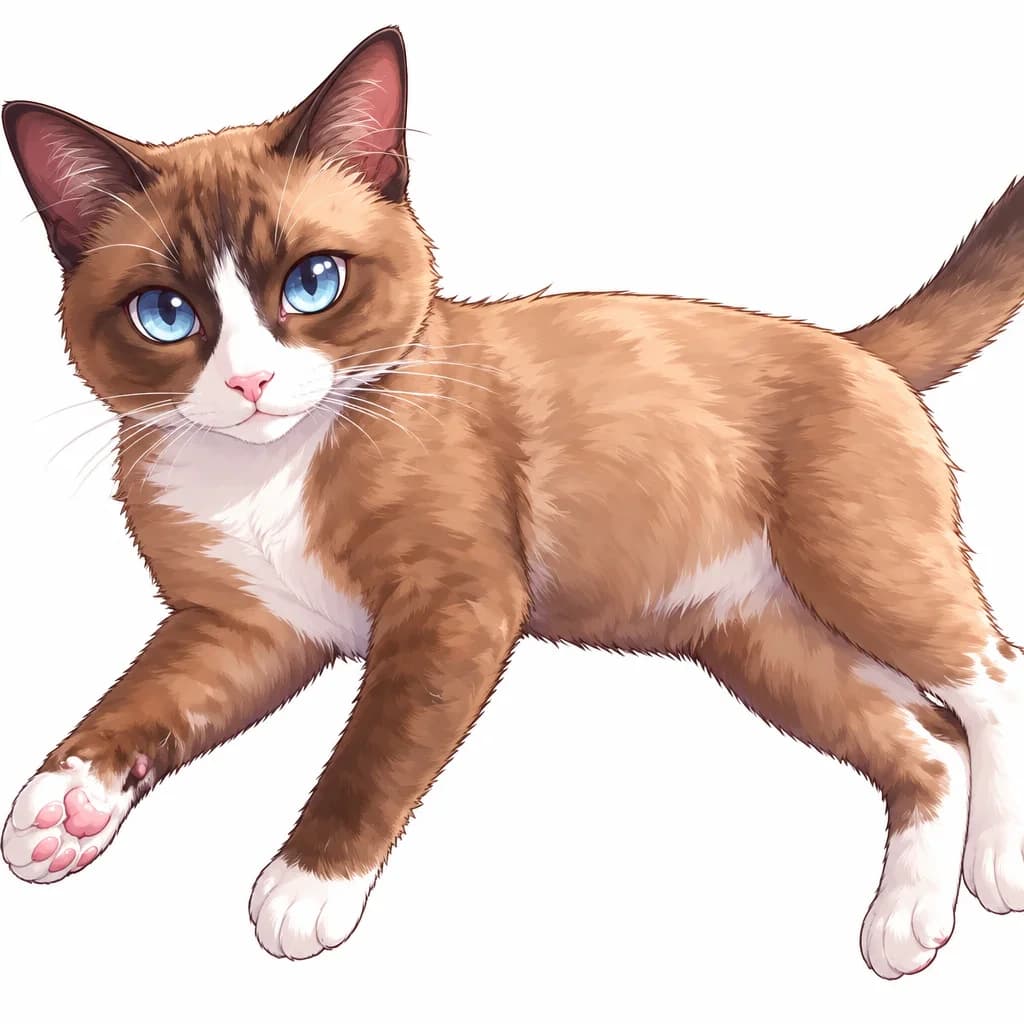
Art style used: Chibi
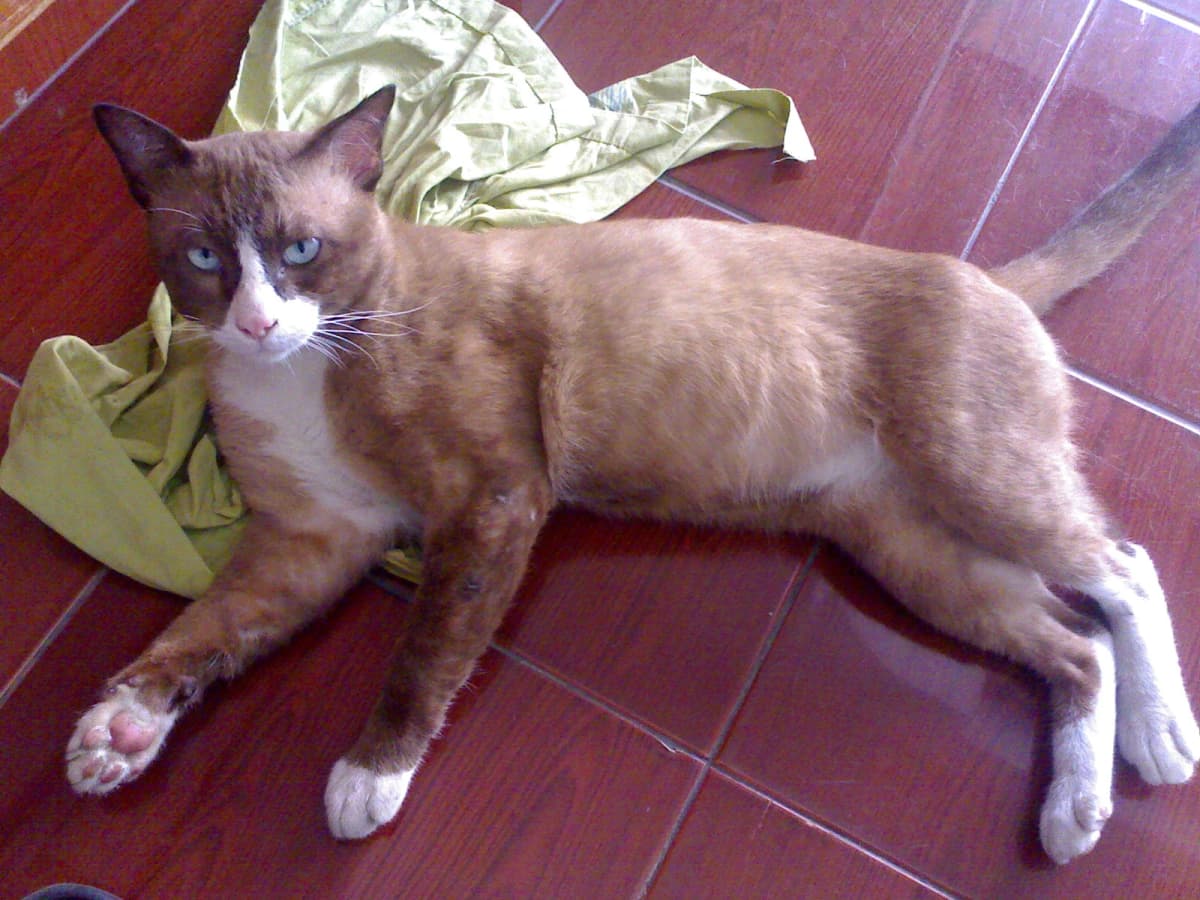
Original photo credit: Octahedron80 · Browny the cat · CC0 1.0
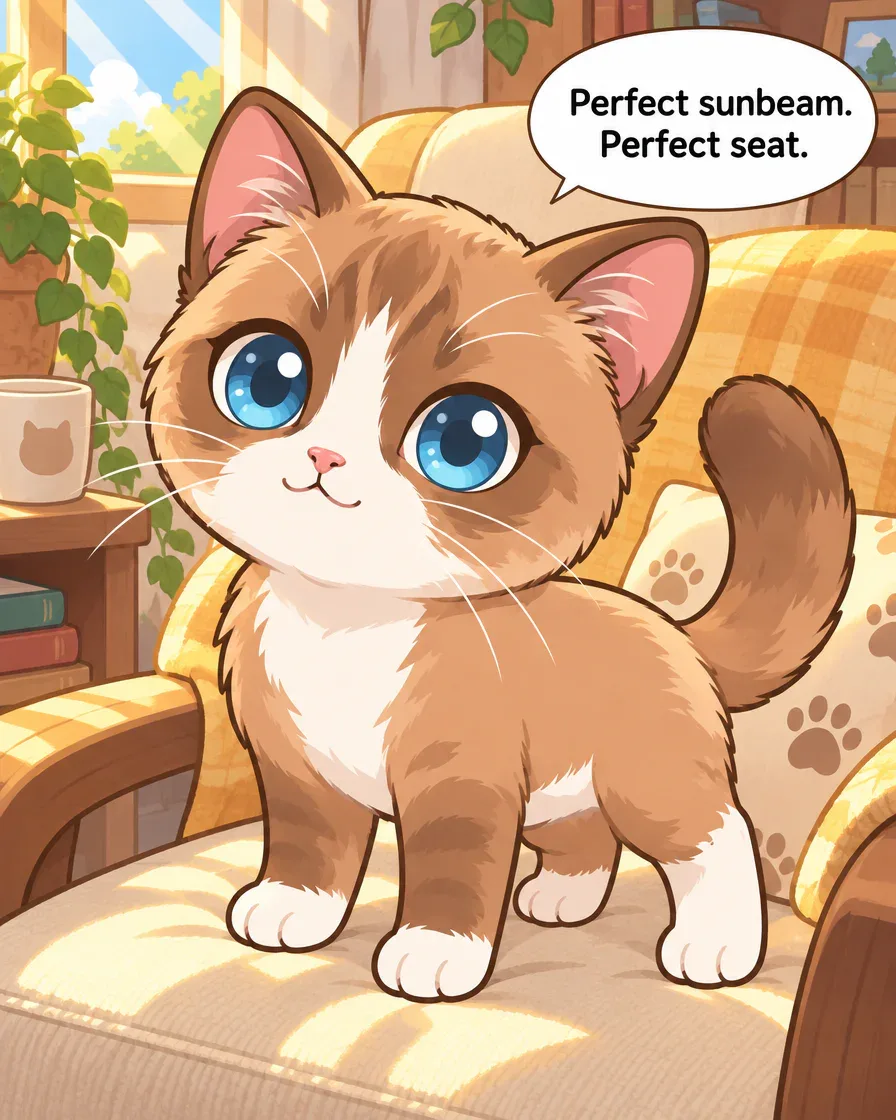
Panel 1Example generated in GenToon, panel 1 of 4.
Create webtoons and chat with people.
What happens to blue eyes and white paws between a photo, a saved character and a comic? Follow the actual images, then prepare your own character for its first story.
From photo to character to comic
Compare the actual photo conversion and four English panels, then save and select a character from your own photo. The editable own-character request has not been sent or generated. The example assets are not added automatically.
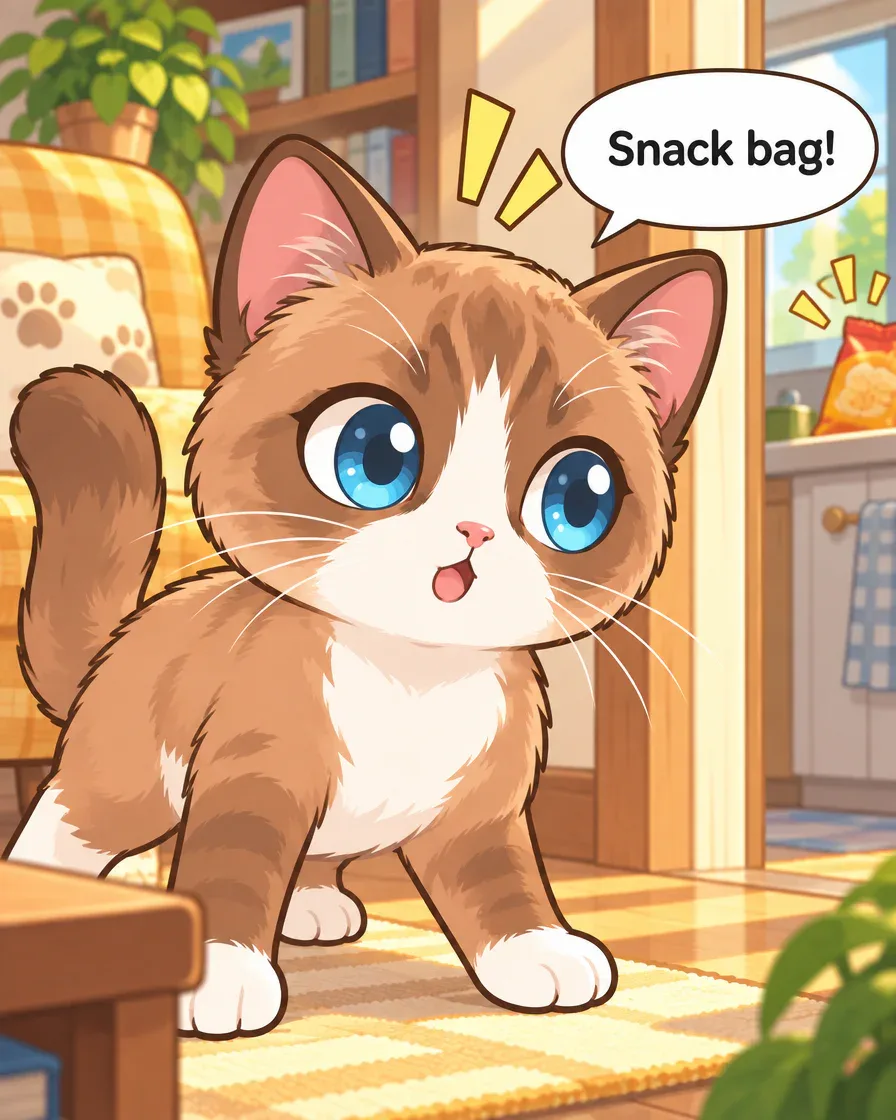
Panel 2Example generated in GenToon, panel 2 of 4. 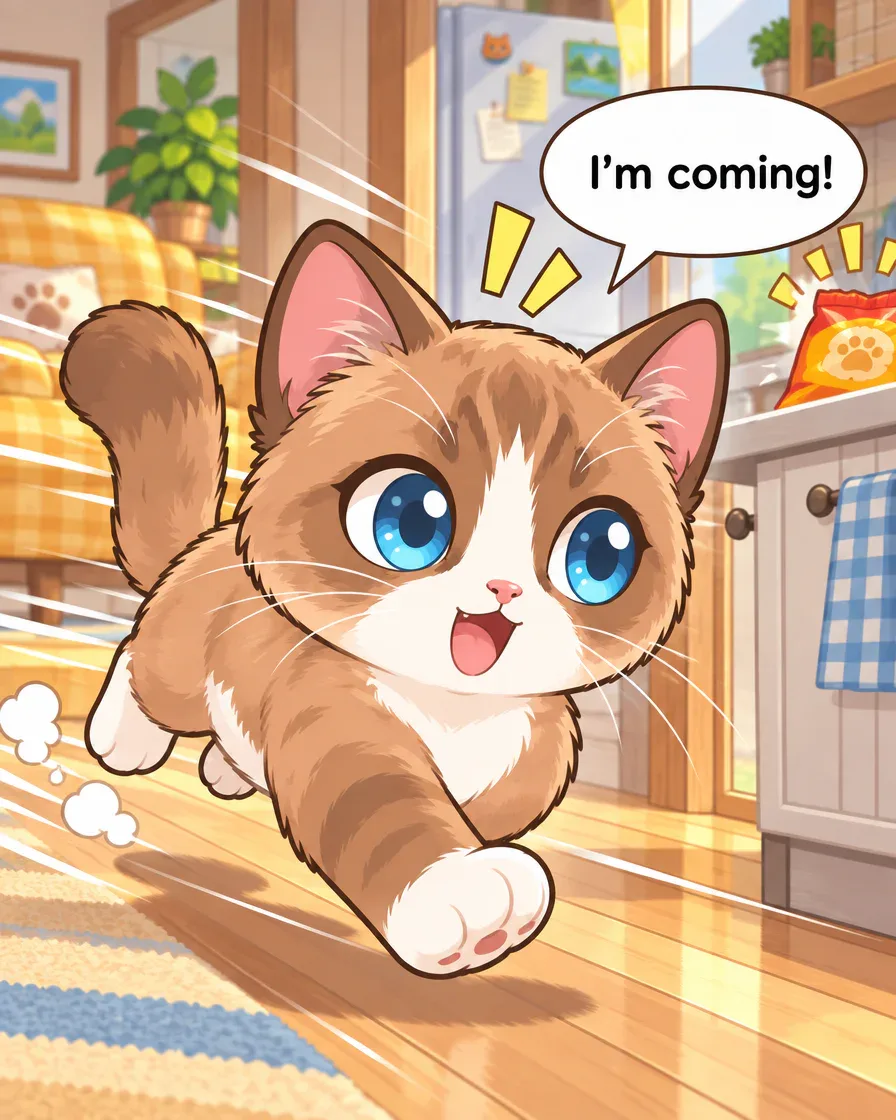
Panel 3Example generated in GenToon, panel 3 of 4. 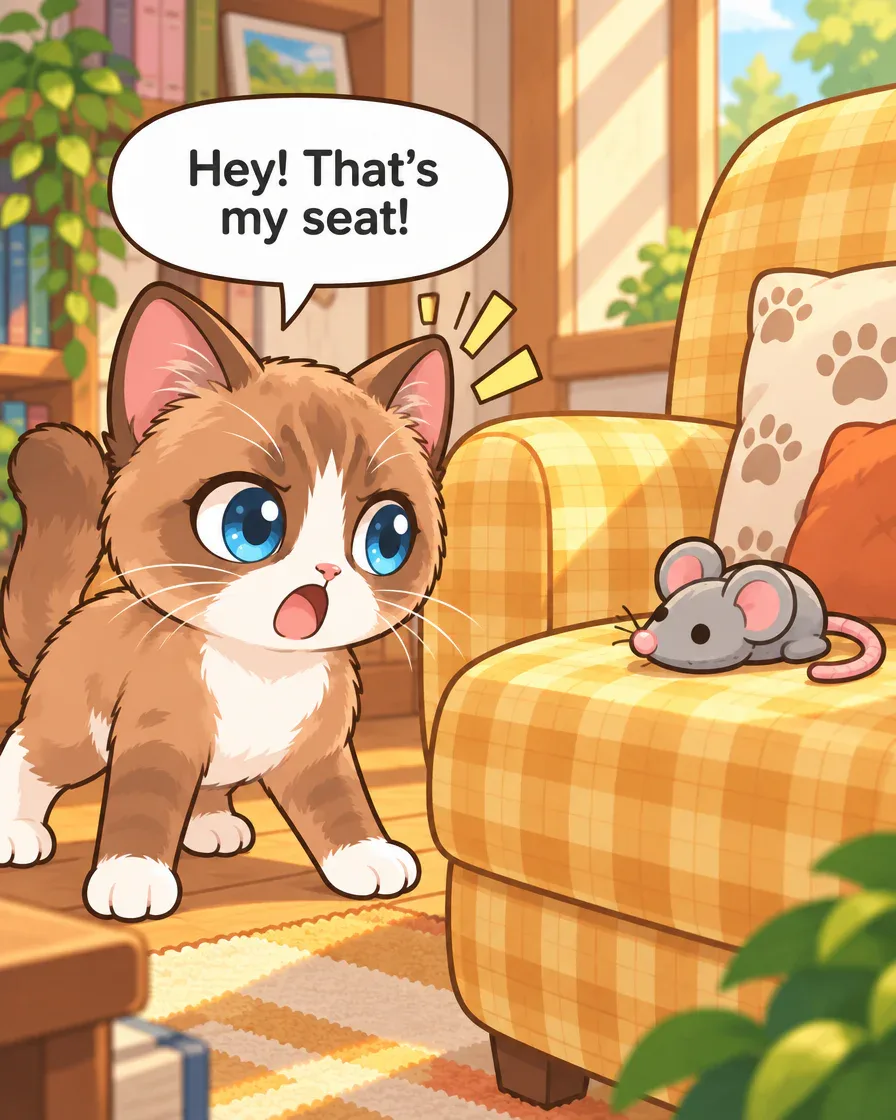
Panel 4Example generated in GenToon, panel 4 of 4.
Request for your own version
The request below is adapted for your own version. It is different from the request used to create this example.
Original request used for this example
Make a four-panel comic with Browny Blog Cat: he guards a sunny chair, hears a snack bag, dashes to the kitchen, then returns to find a toy in his seat. Short English speech bubbles.
Make a four-panel comic with the cat character I selected: it guards a sunny chair, hears a snack bag, runs to the kitchen, then returns to find a toy mouse in its seat. Short English speech bubbles.
Art style used: Chibi
How this example was made
- Convert your photo and review its features
Choose a photo you can use. Check the art style, current cost and credit balance, then compare the converted eyes and markings with the photo.
- Save a named character
Review the output, enter a name and choose “Save to My Characters.” Confirm that the name appears in your character list.
- Select your character and edit the request
Select the saved character, edit the story and dialogue language, then read the plan and cost. The button prepares input; it does not attach the example photo or character.
Inspired to tell your own story?
Create webtoons and chat with people.
Quick answer
- Compare the actual photo and converted character first.
- Choose the features to keep, save your character and select its name for a story.
- Read the finished panels and revise one detail at a time.
Browny lies on red tiles in the photo and appears against white in the converted character image. Look for the blue eyes, white muzzle and white paws. In the four actual GenToon panels above, that character leaves a sunny chair for a snack bag and returns to find a toy mouse in its seat.
This guide follows the part between uploading a photo and using a saved character in a comic. Compare the photo, conversion and finished panels, then prepare your own editable request. The example uses a cat; judge a human portrait’s likeness on your own result.
Find three features in the actual input photo
The brown and white coat, blue eyes and white front paws give us specific things to check. The red tiles and fabric behind Browny belong to the background. Separate the features you want to recognize from the surroundings.
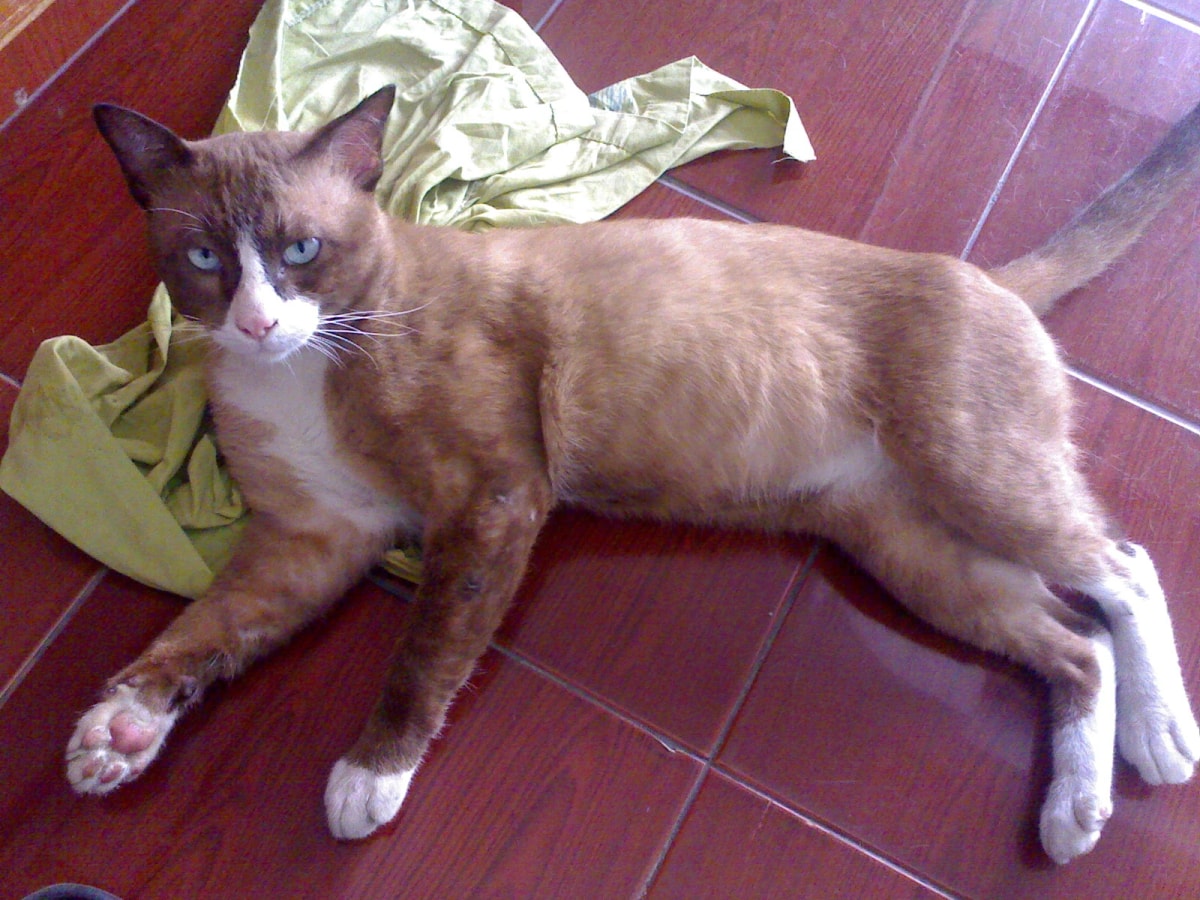
The original is Browny the cat by Octahedron80, published under CC0 1.0. For your own work, choose a photo you took or have permission to use. A clear view of the eyes and face gives you something visible to compare after conversion.
Compare the converted character with the photo
This is the actual GenToon conversion. The background becomes white and the blue eyes grow larger. The white muzzle and paws remain visible, while the fur rendering and body proportions change. Before saving, check the features you want to recognize.
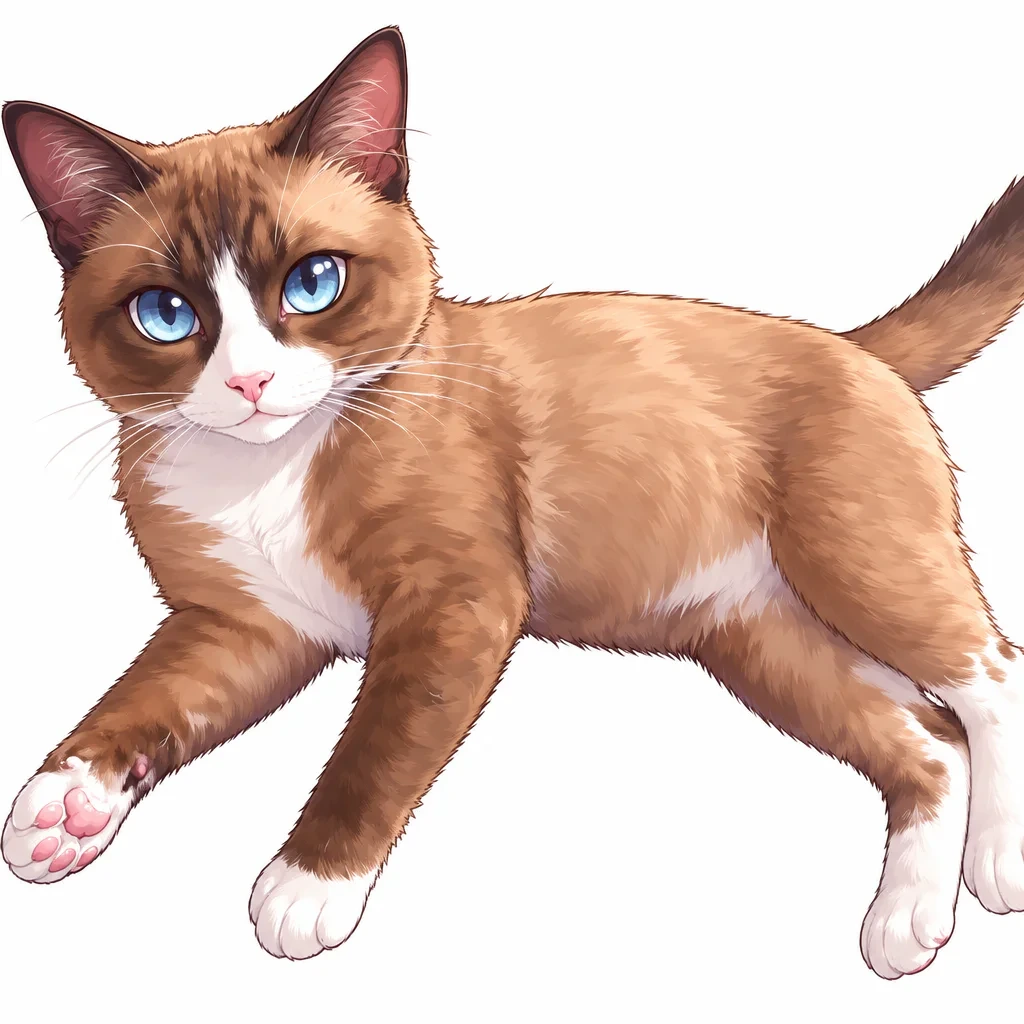
The selected style for this example was Chibi. Compare your own result with your input photo in the same way. Human likeness needs a separate check on your own portrait; it has not been tested by this cat example.
Convert your own photo, then save a named character
In Studio, open character creation and choose the photo conversion option. Upload your photo, choose an art style and select “Convert to Character.” Check the current displayed cost and your credit balance before starting.
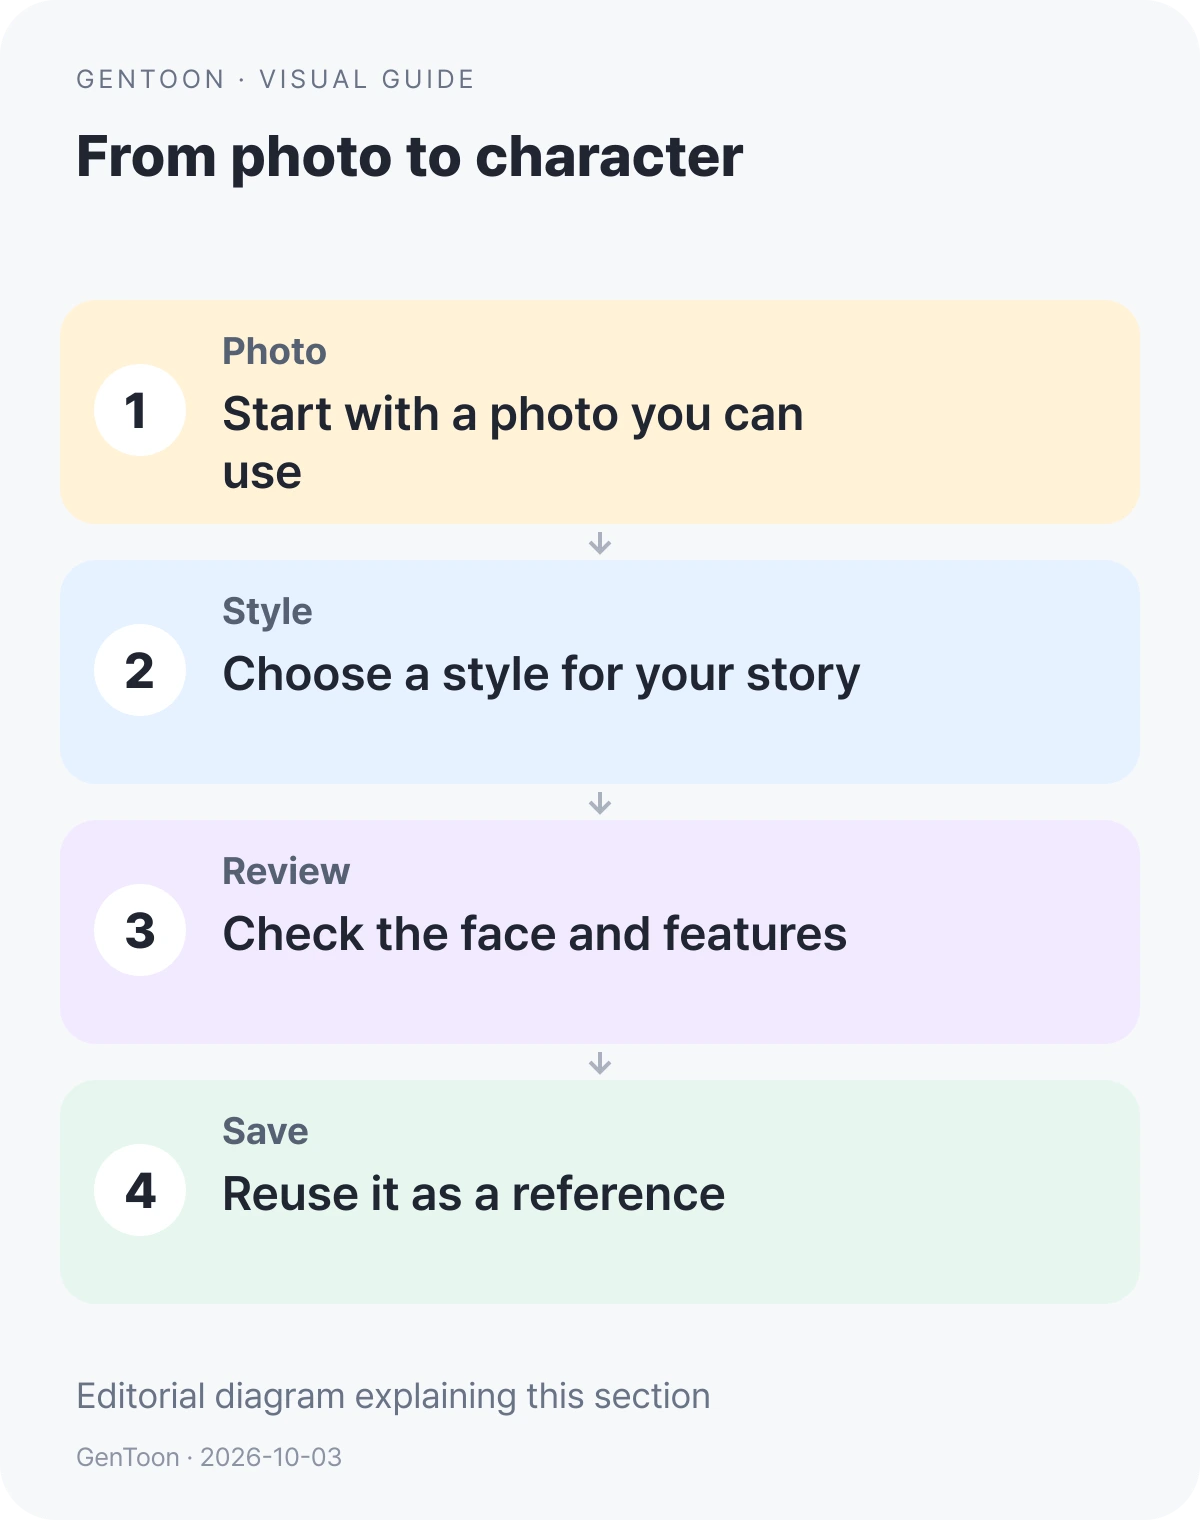
After reviewing the result, enter a Character Name and choose “Save to My Characters.” You could name it “My Cat” and describe it as “blue eyes, white muzzle and paws.” Confirm that your saved name appears in the character list.
If you want another conversion, identify one detail to change and check the cost before choosing “Reconvert.” Viewing an output and saving a character are separate steps.
Select your saved character and adapt the story request
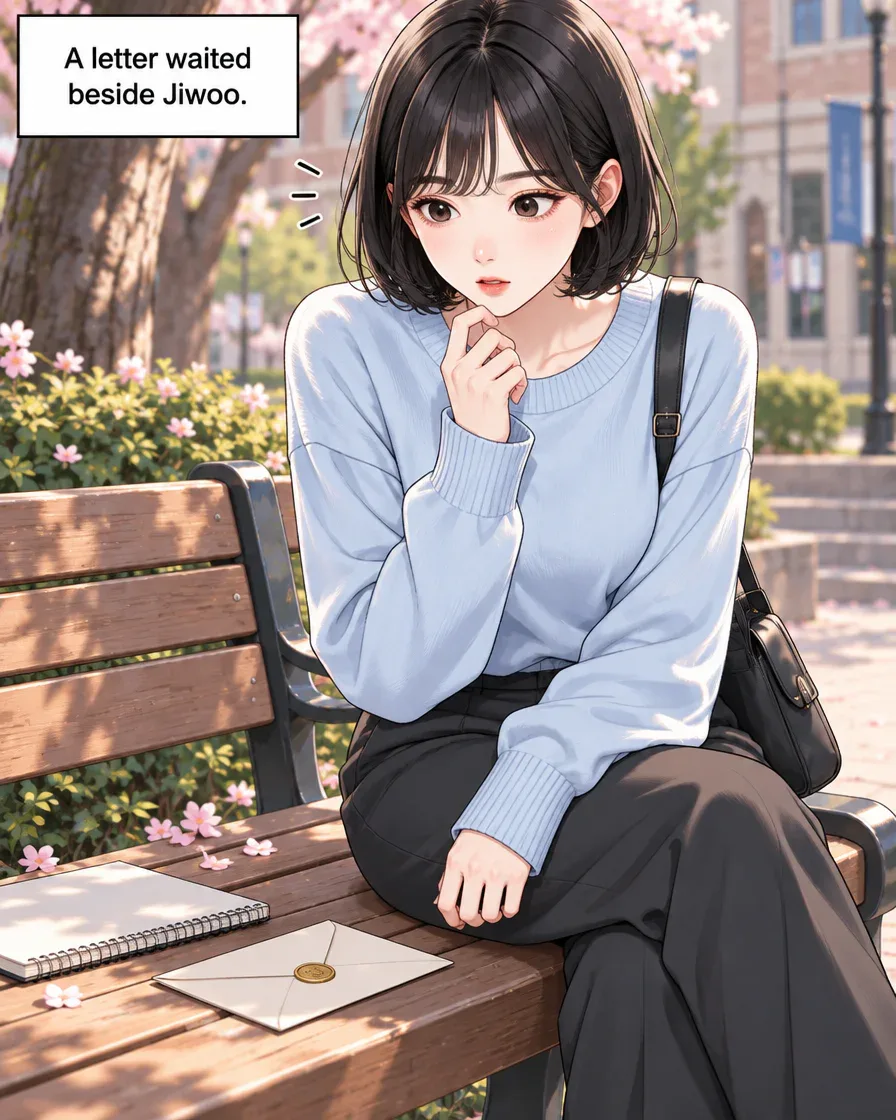
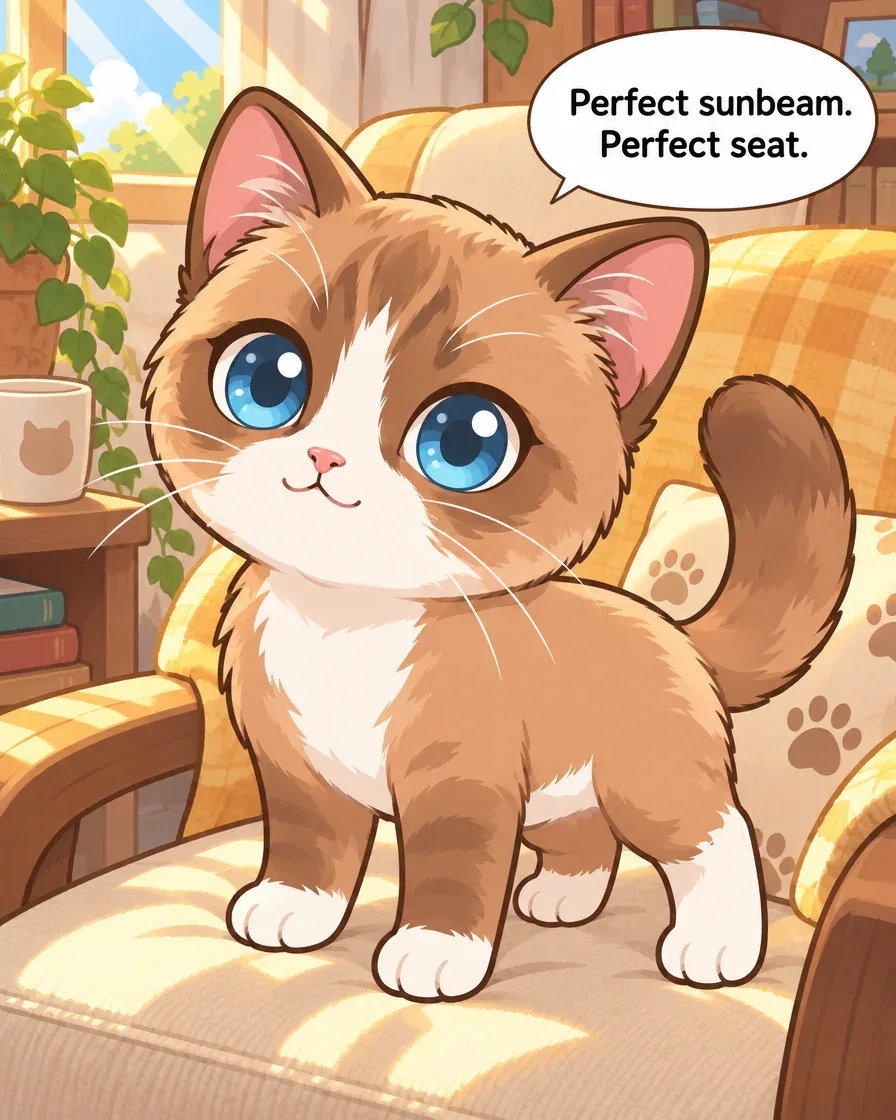
Look at the first panel’s blue eyes and white muzzle. The head and eyes are rounder and larger than in the converted character. Even after saving a reference, the comic’s proportions can change.
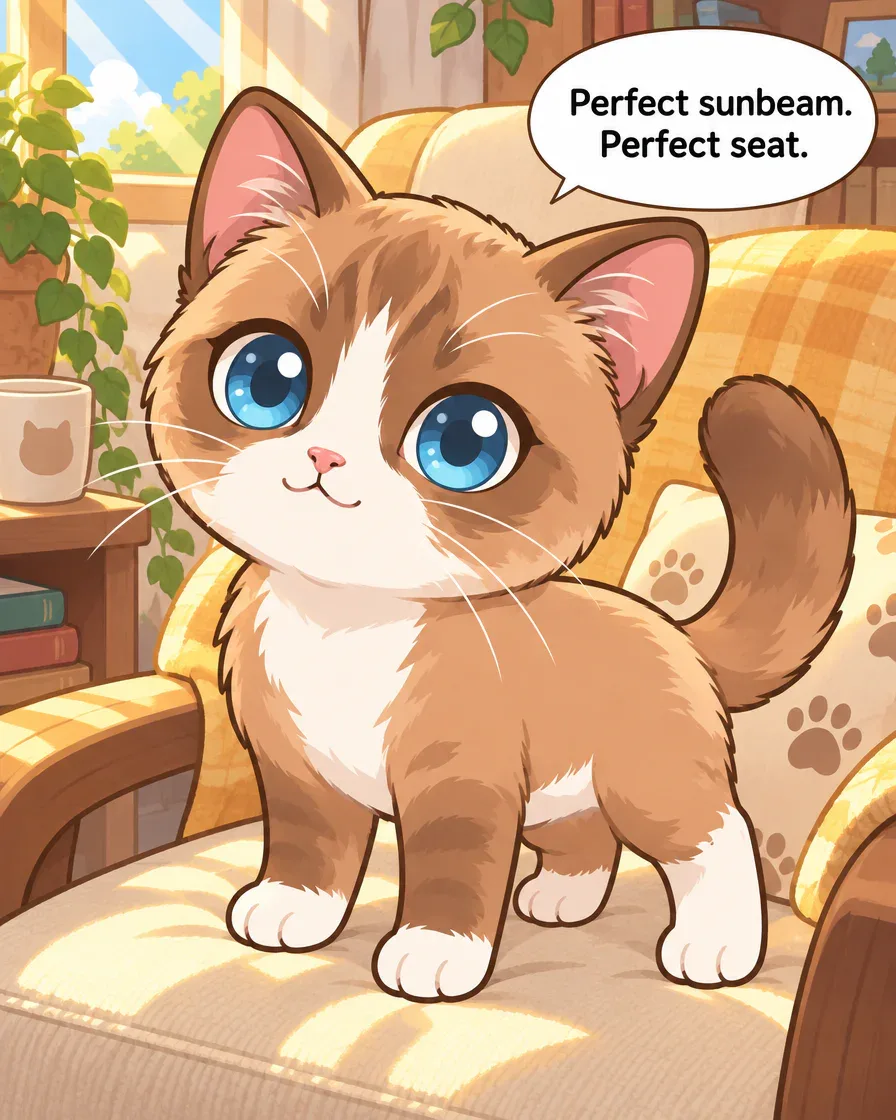
The exact request that produced the displayed four panels was:
Make a four-panel comic with Browny Blog Cat: he guards a sunny chair, hears a snack bag, dashes to the kitchen, then returns to find a toy in his seat. Short English speech bubbles.
For your own work, select your saved character first, then edit this request:
Make a four-panel comic with the cat character I selected: it guards a sunny chair, hears a snack bag, runs to the kitchen, then returns to find a toy mouse in its seat. Short English speech bubbles.
This own-character request has not been sent or generated. The example photo and Browny character are not added to your account or attached automatically. Confirm that your selected name appears as the main character in the plan.
Read the character, language and cost before drawing
In panel two, Browny says “Snack bag!” The finished example has English speech bubbles. In your own plan, check the selected character’s name, the four actions and the dialogue language you requested.
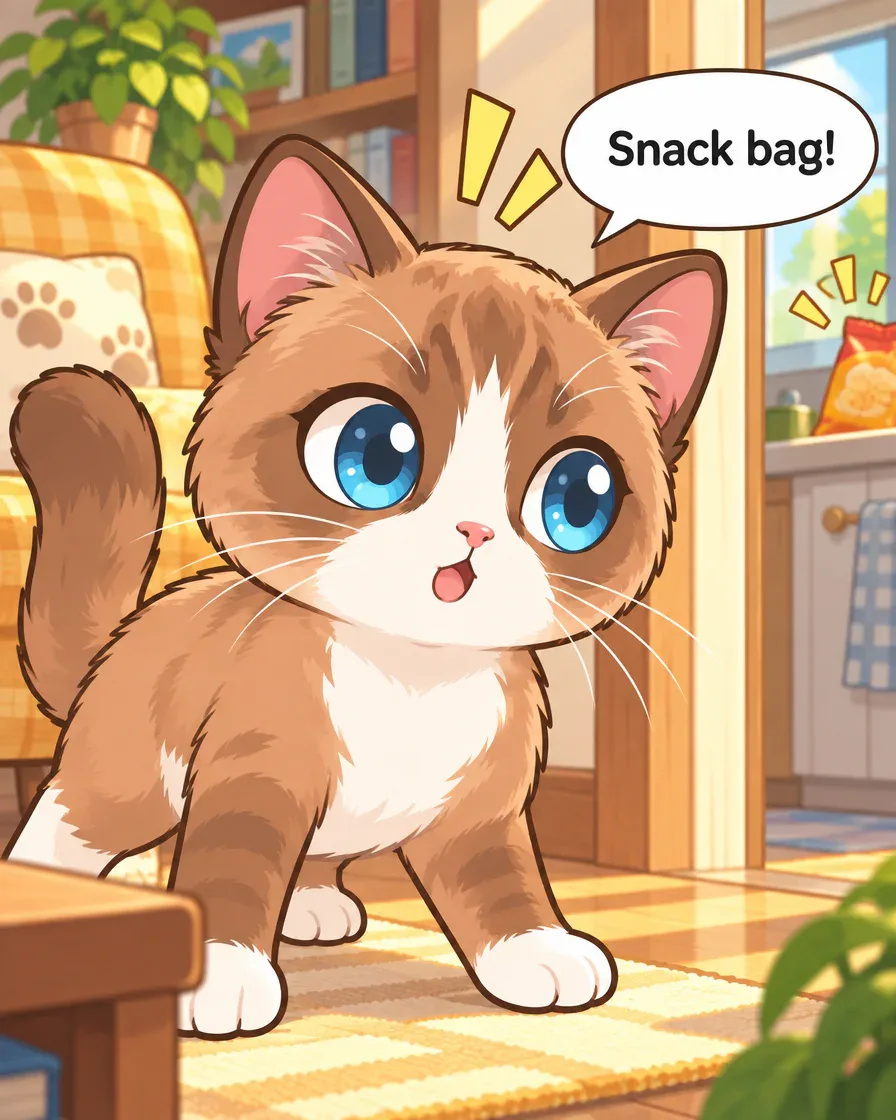
You can replace the sunny chair with a cardboard box your cat guards. The displayed panels were made from the original English request; the changed setting is a separate story to create.
Before drawing, check the current quality selection, cut count, displayed cost and credit balance. Check the new cost again when reconverting a character or generating another panel.
Choose one detail to revise when the appearance changes
Panel three sends Browny running toward the kitchen. Compare it with the photo and conversion: the blue eyes and white paws remain visible, but the brown around the eyes and the face proportions differ. A saved character still needs a visual review.
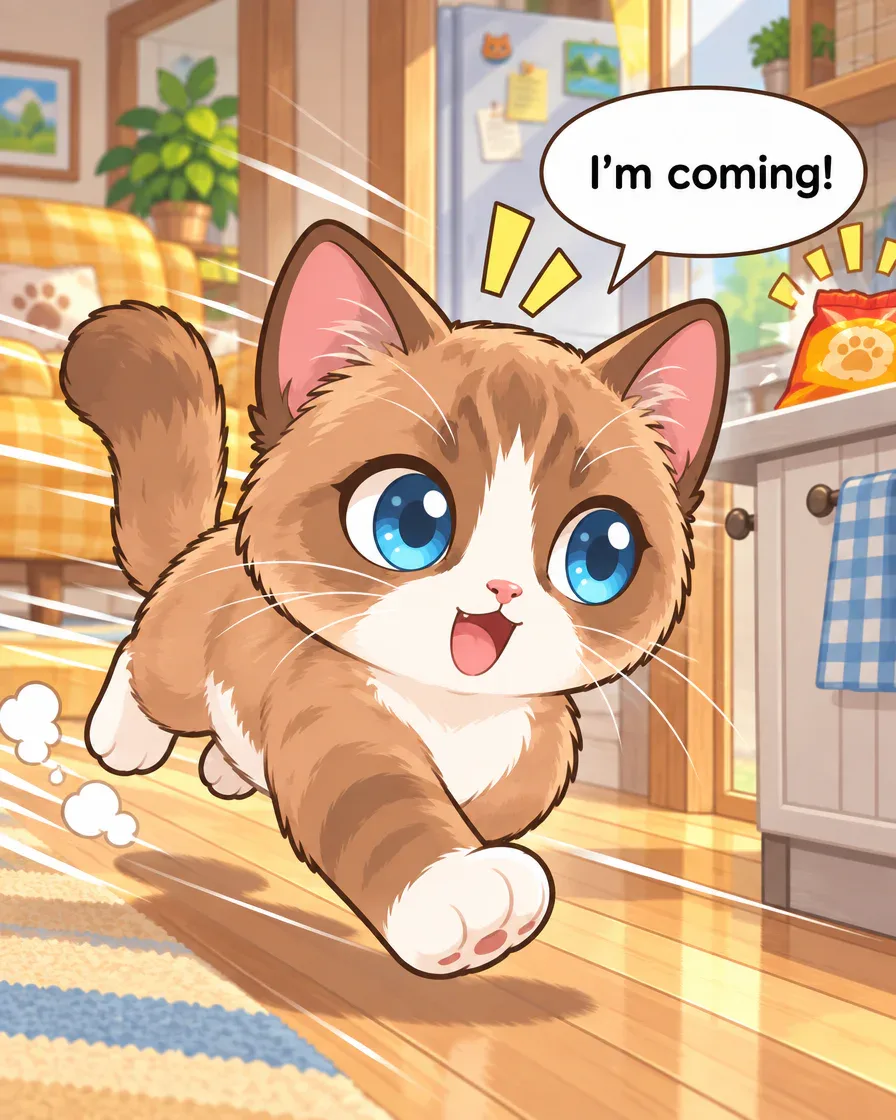
For a darker face marking, an editable correction could be: “Keep the main character’s blue eyes and white paws. Make the dark brown markings around the eyes visible.” Choose one detail you can compare.
This correction has not been sent or generated. The displayed panel remains the unedited original. For your own revision, check the affected panel and cost, then compare the changed result with the earlier version.
Read the finished comic and choose your next scene
In the last panel, a toy mouse occupies the chair and Browny protests, “Hey! That’s my seat!” Read all four panels on your phone. Does the character read as the same cat? Can you follow it leaving the chair and returning?
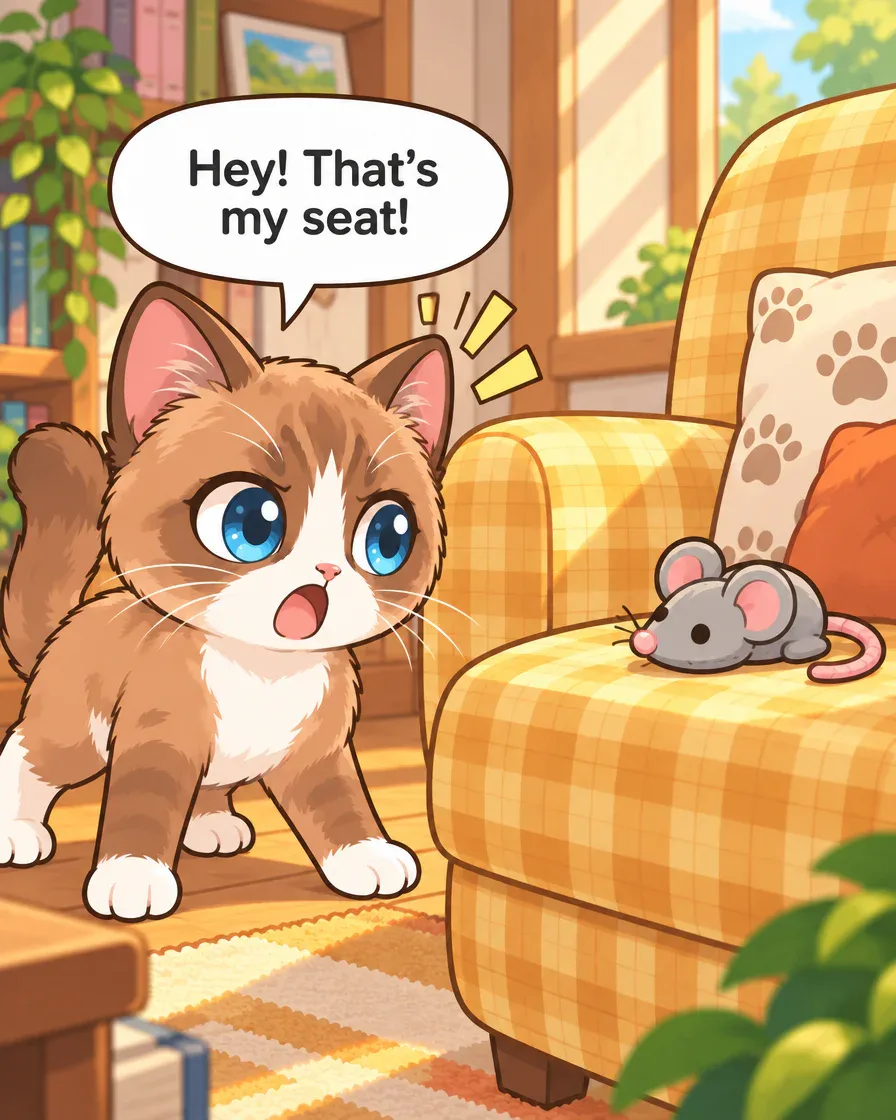
Choose appearance, dialogue or scene continuity as your first review task. To share your own comic, find Publish in Studio and check the title and visibility. To keep a file, find Download.
Explore the GenToon community to read how other creators carry a character into another scene. Once your character is saved, select its name and plan one story from your own photo.
Check the photo and sharing scope before publishing
Your photo may include a name tag, contact information or a home address. Review it before uploading, then decide which details belong in the character and comic you want to share.
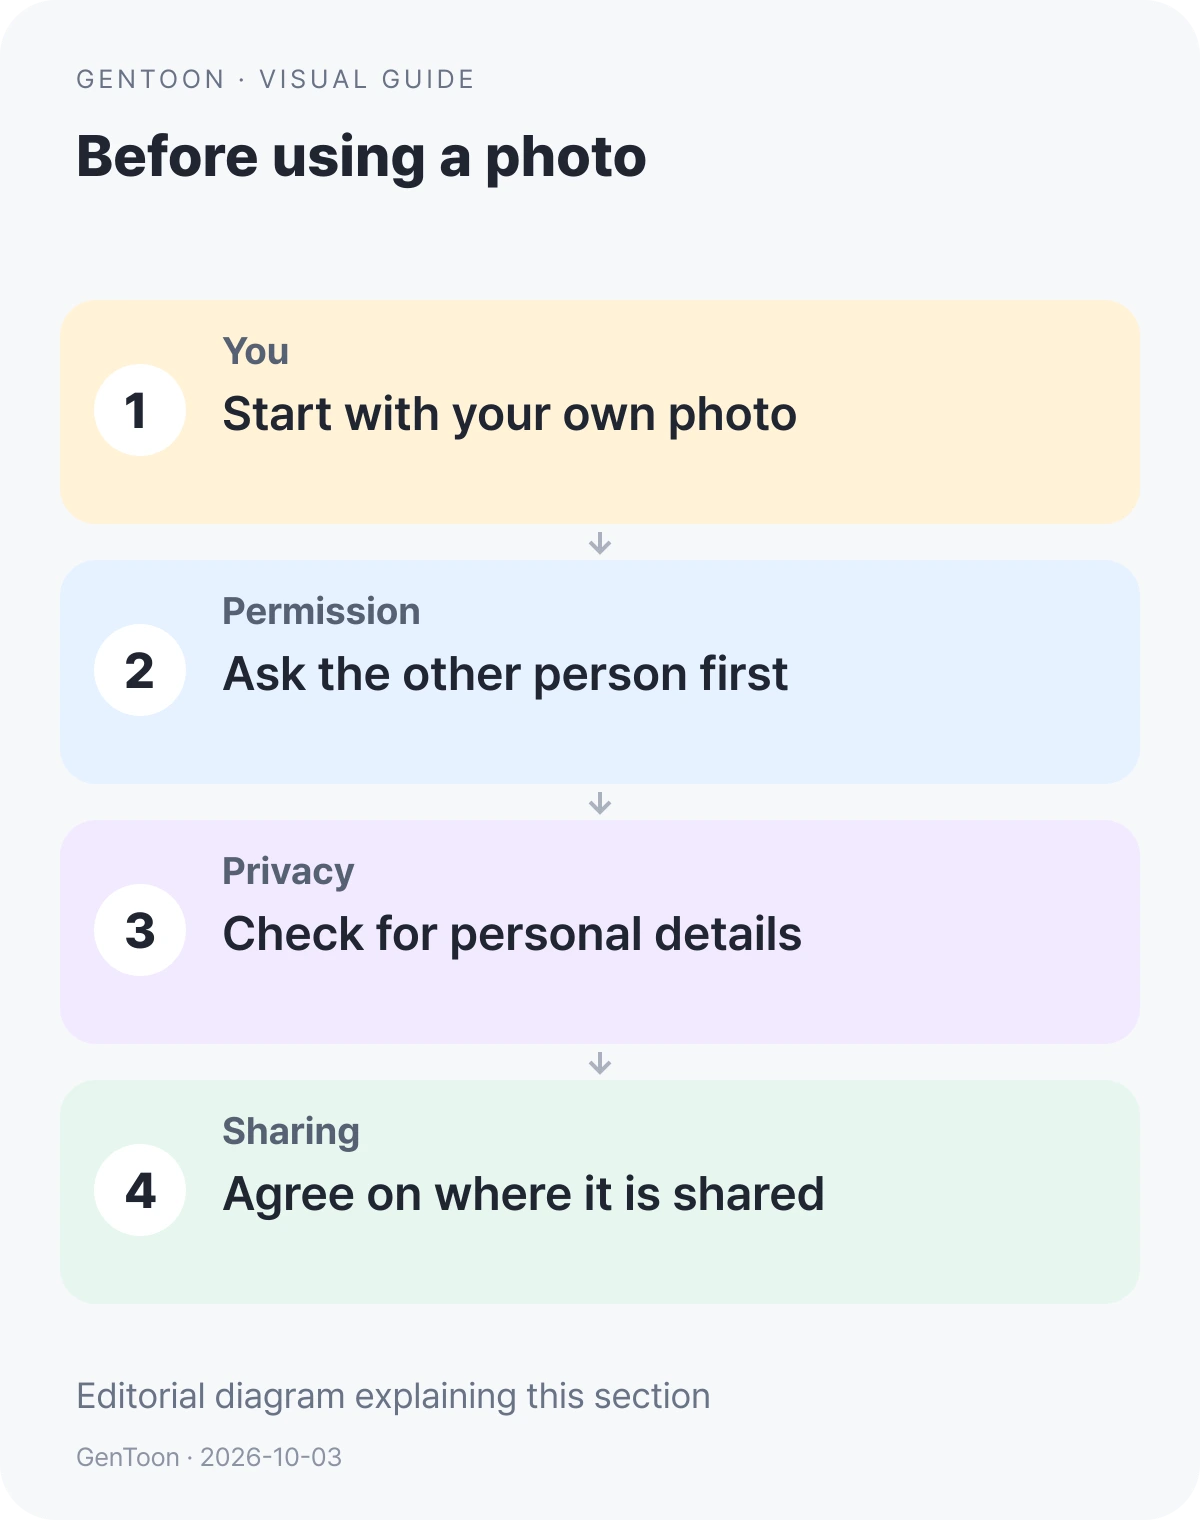
For a friend’s or relative’s photo, agree on its use and sharing scope first. Check the example photo’s source separately from the conditions on your own photo. Read the current Privacy Policy and Terms for the service’s guidance.
Still choosing a photo? Prepare one usable image and three features you want to keep. Already saved a character? Open Studio, select it and edit the story request for your situation.
Frequently asked questions
Is this a human selfie conversion?
The actual input and output shown here are of Browny the cat. You can choose a human photo in character creation, but check the likeness on your own converted result.
Why is my converted character missing from the next comic?
Check that you entered a name and chose “Save to My Characters” after conversion. Select that saved character for the next story and read its name in the plan.
Was the editable own-character request used for these panels?
These panels were generated from the exact Browny Blog Cat request. The own-character request and correction in this guide have not been sent or generated. Select your own saved character before adapting them.
Will every marking and proportion stay the same?
The actual example changes eye size, face proportions and fur rendering. Compare the original photo, conversion and comic panels, then review the features you want to keep.
Where do I check conversion and comic costs?
Check the current displayed cost and your credit balance before each operation. Recheck the cost when reconverting a character or generating another panel.
Does the example photo or character transfer to my account?
The example assets are not added automatically. The button prepares editable story text. Create a character from a photo you can use, save it and select it for your story.