How to Turn Your Novel Into a Webtoon With AI: A 5-Step Guide

GenToon
Oct 15, 2026 · 7 min read
An example comic created with GenToon AI.
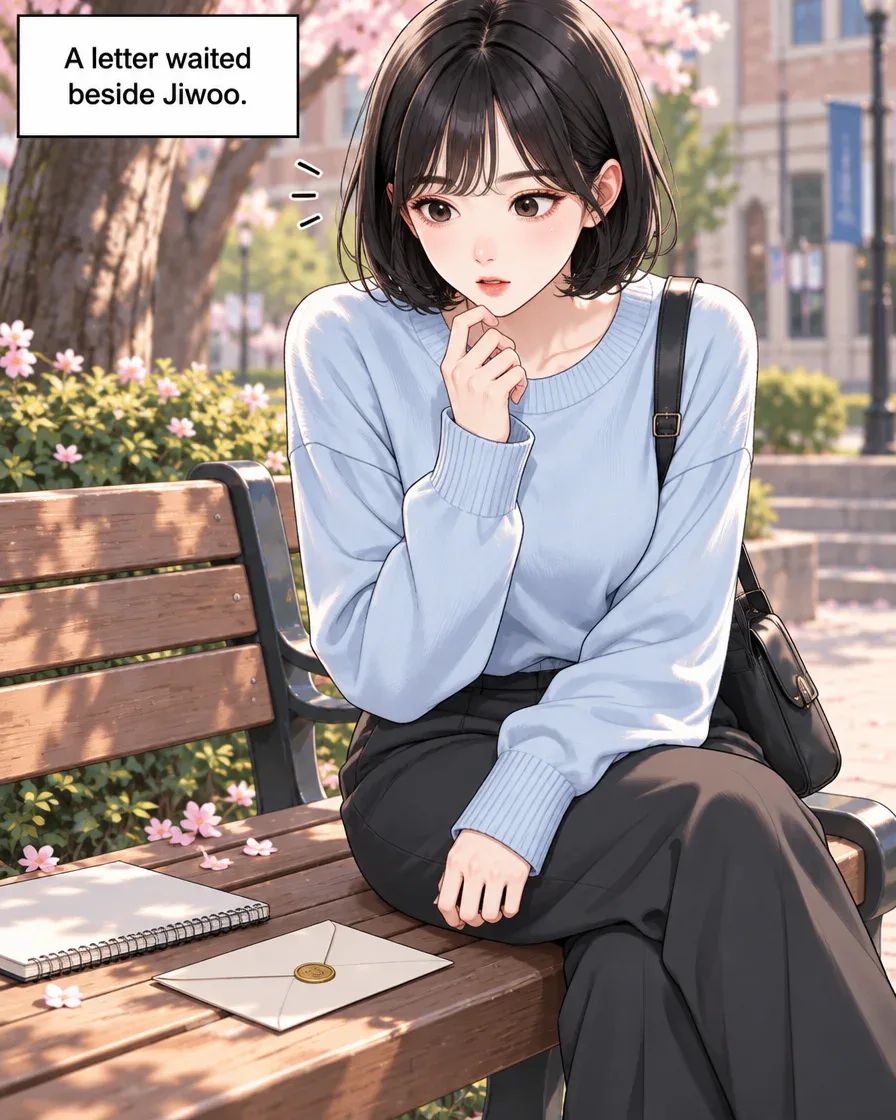
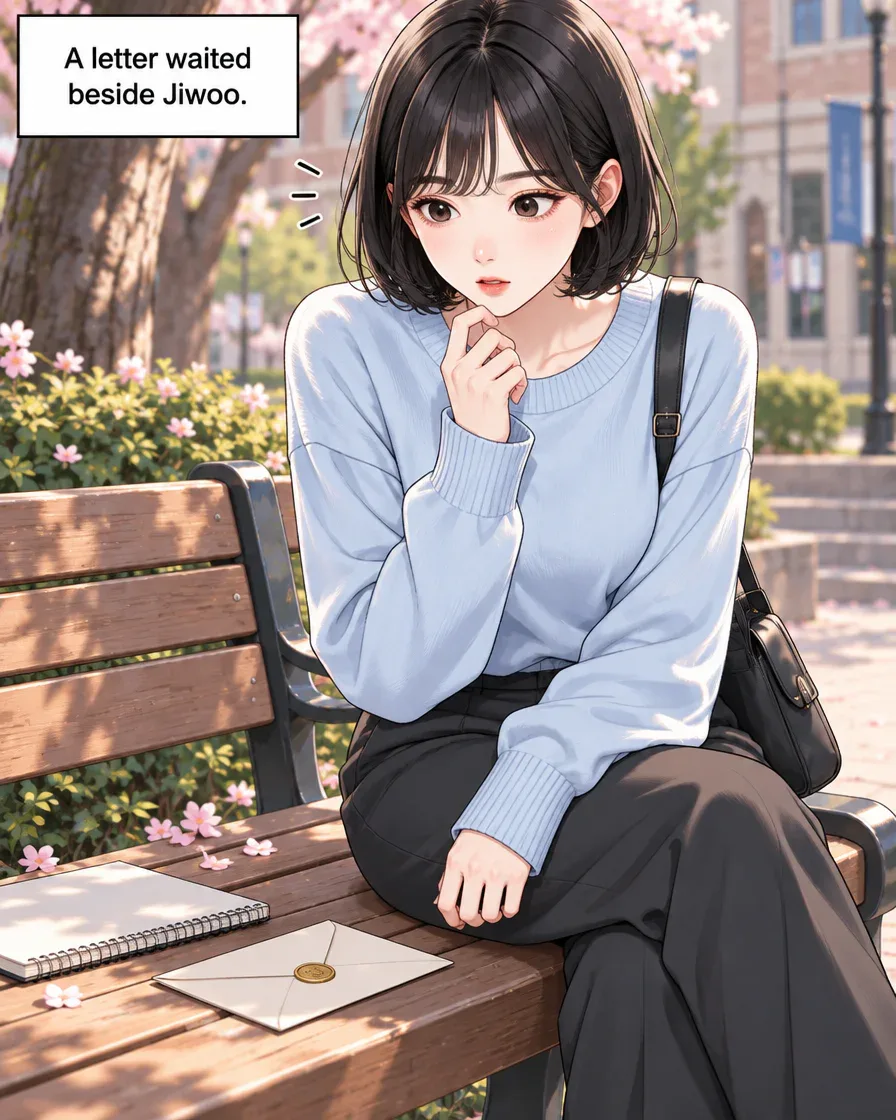
Panel 1Example generated in GenToon, panel 1 of 12.
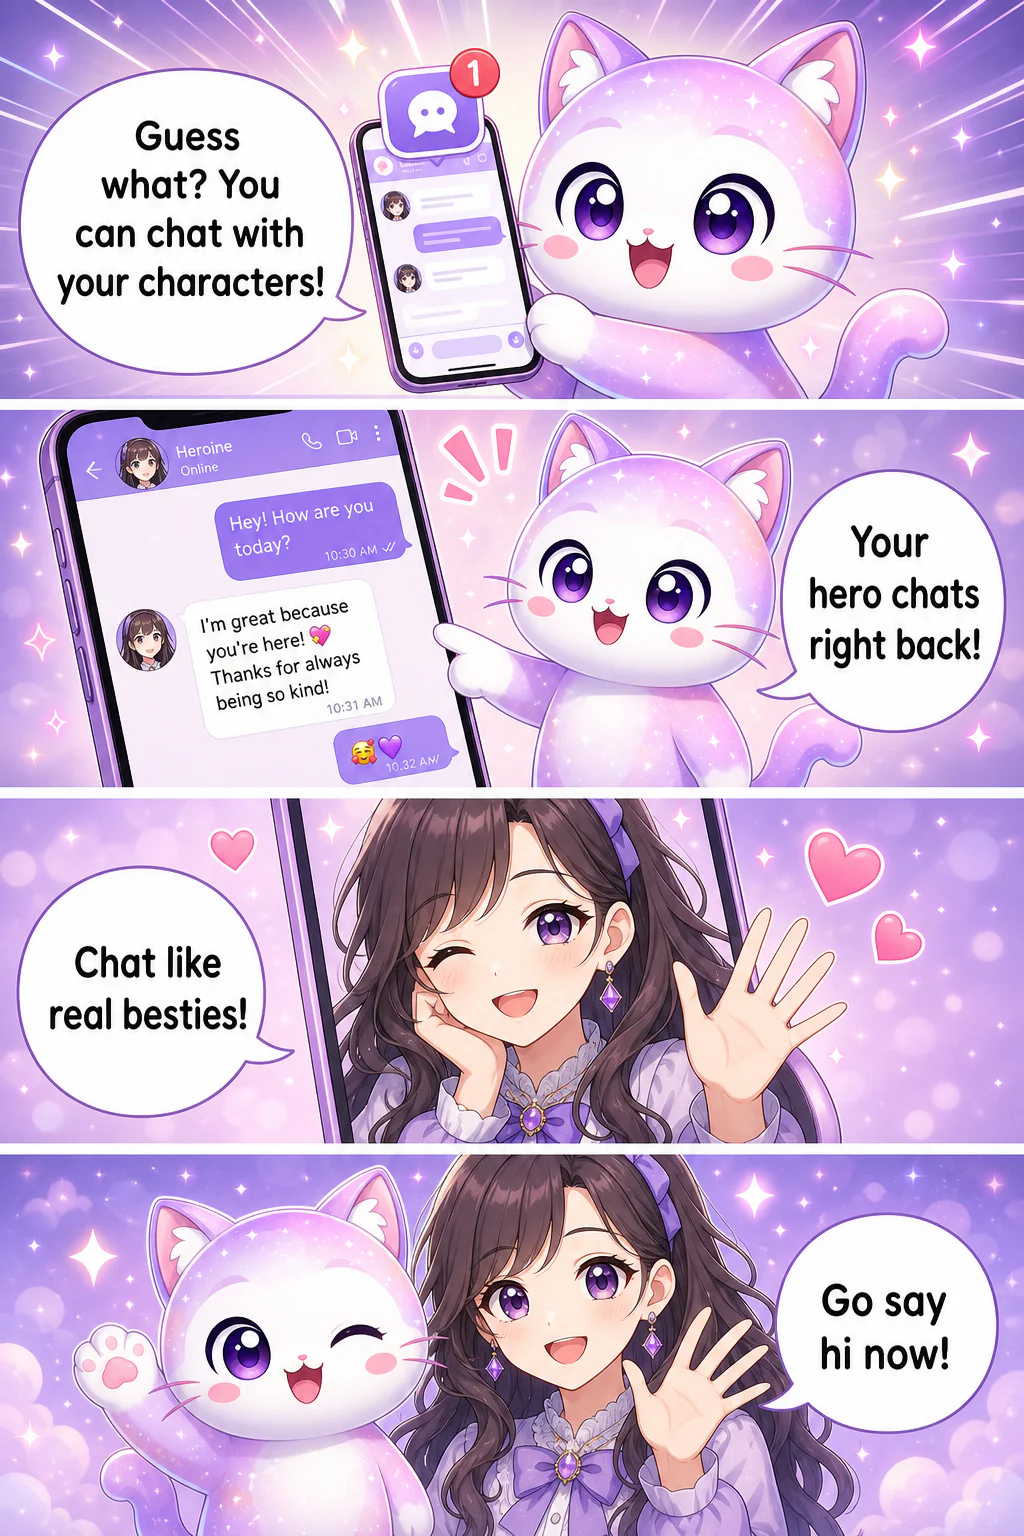
The 12-panel result above uses the original request. The four-panel practice uses a different request.
Create webtoons and chat with people.
The button fills the Studio input so you can edit it before sending. Check the plan and current cost in Studio before drawing.
See webtoons by other creatorsExplore different art styles and stories in the community.A letter from the future becomes a twelve-panel scene. Read the finished comic, compare its original request and planning notes, then turn one choice from your own novel into a webtoon.
A scene from a novel becomes a webtoon
This fictional scene starts with a letter dated tomorrow. Jiwoo chooses to say hello to Minseo, then writes a reply. We made these twelve panels in GenToon using the short English request below. Start with one scene from your own novel, then review the characters, dialogue and expressions before continuing.
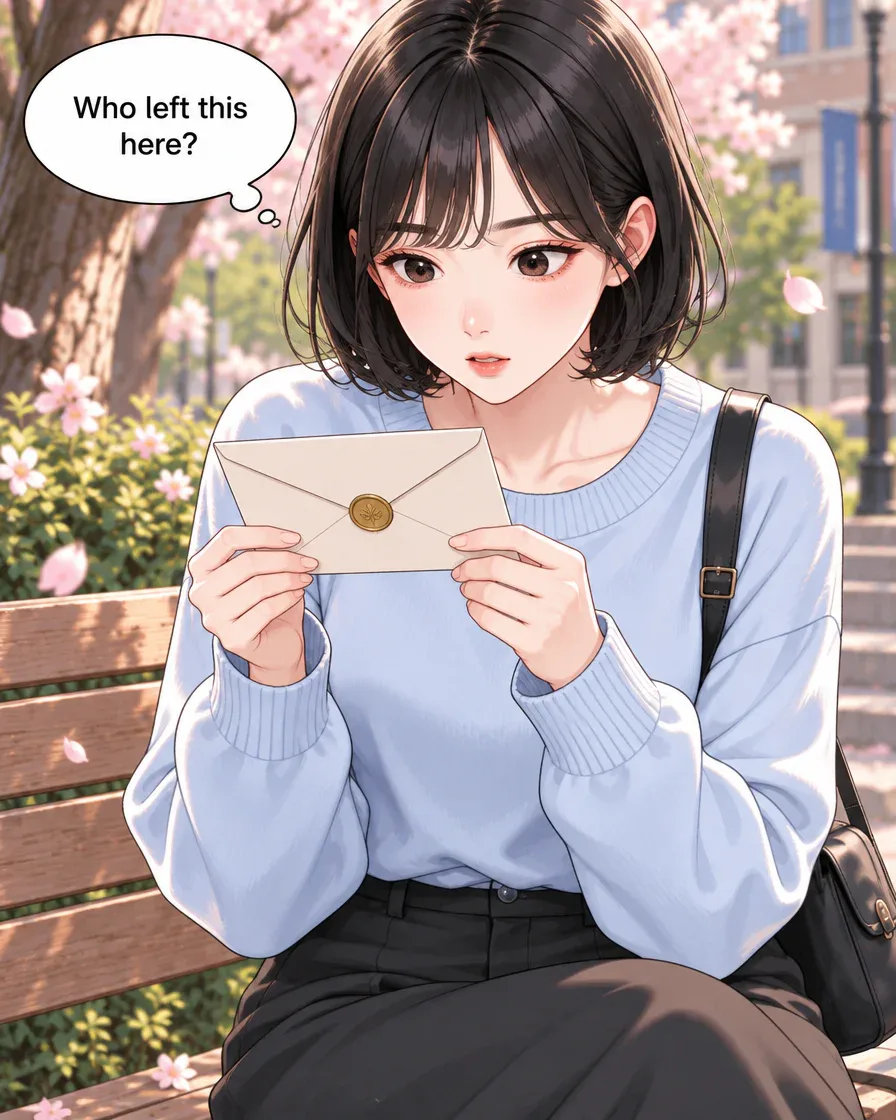
Panel 2Example generated in GenToon, panel 2 of 12. 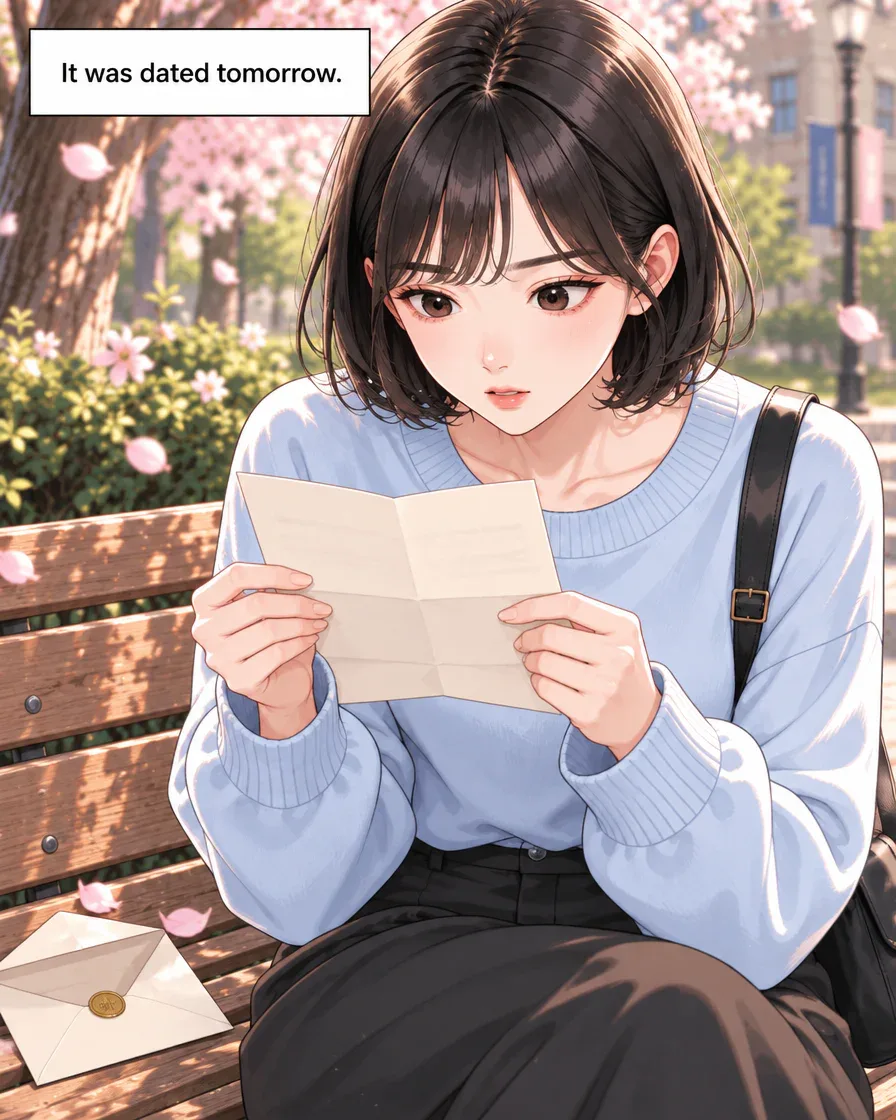
Panel 3Example generated in GenToon, panel 3 of 12. 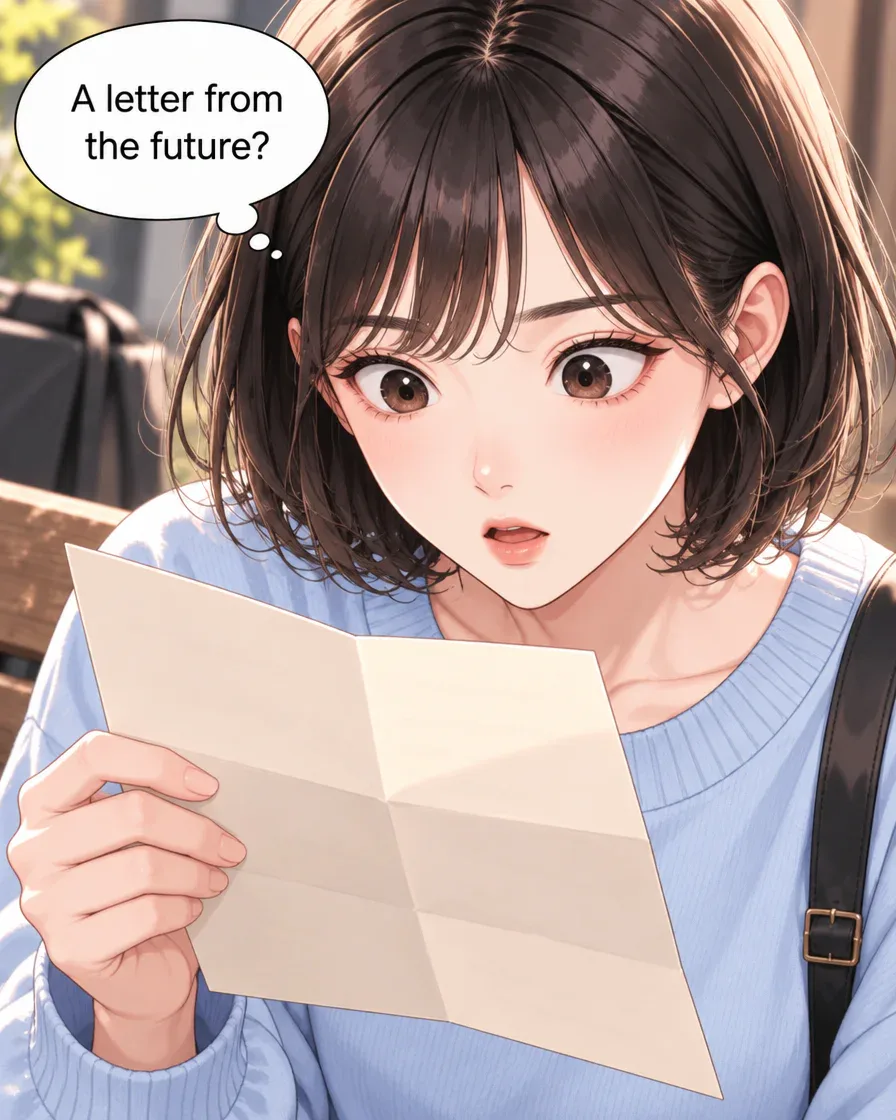
Panel 4Example generated in GenToon, panel 4 of 12.
Read all 12 panels (8 more)
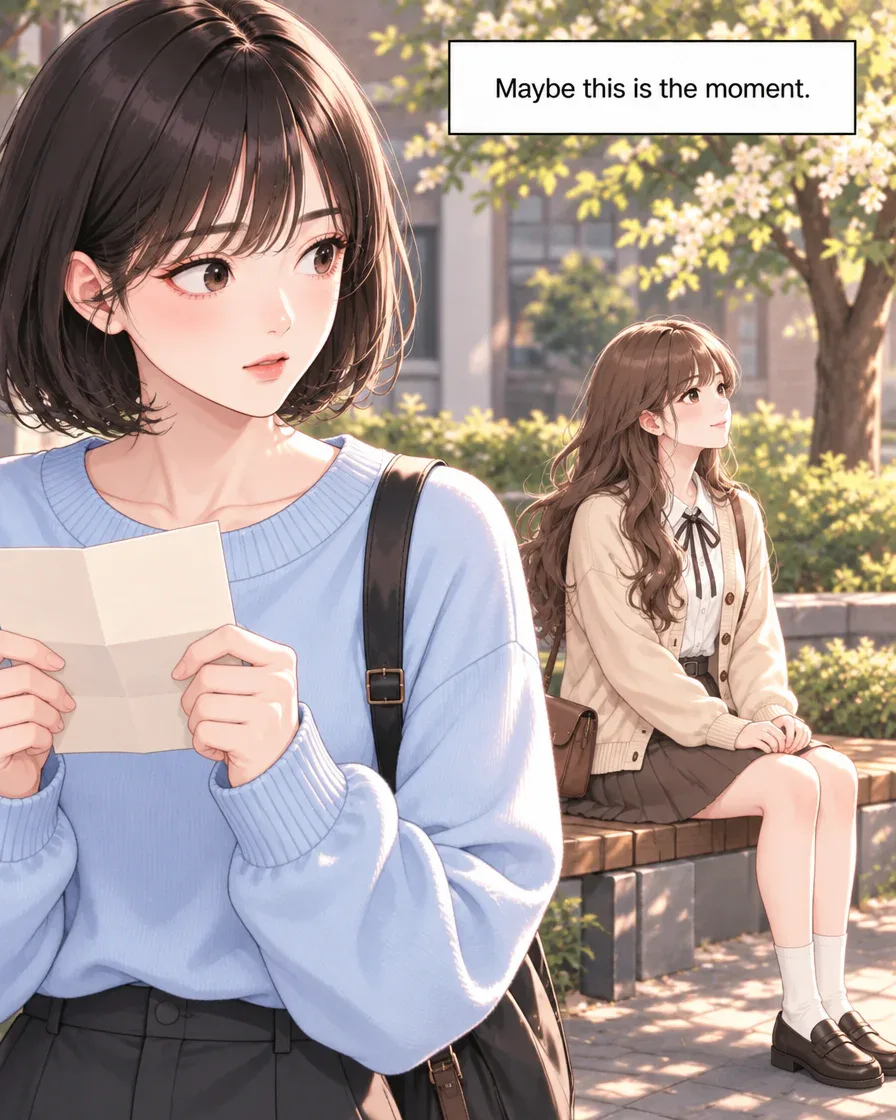
Panel 5Example generated in GenToon, panel 5 of 12. 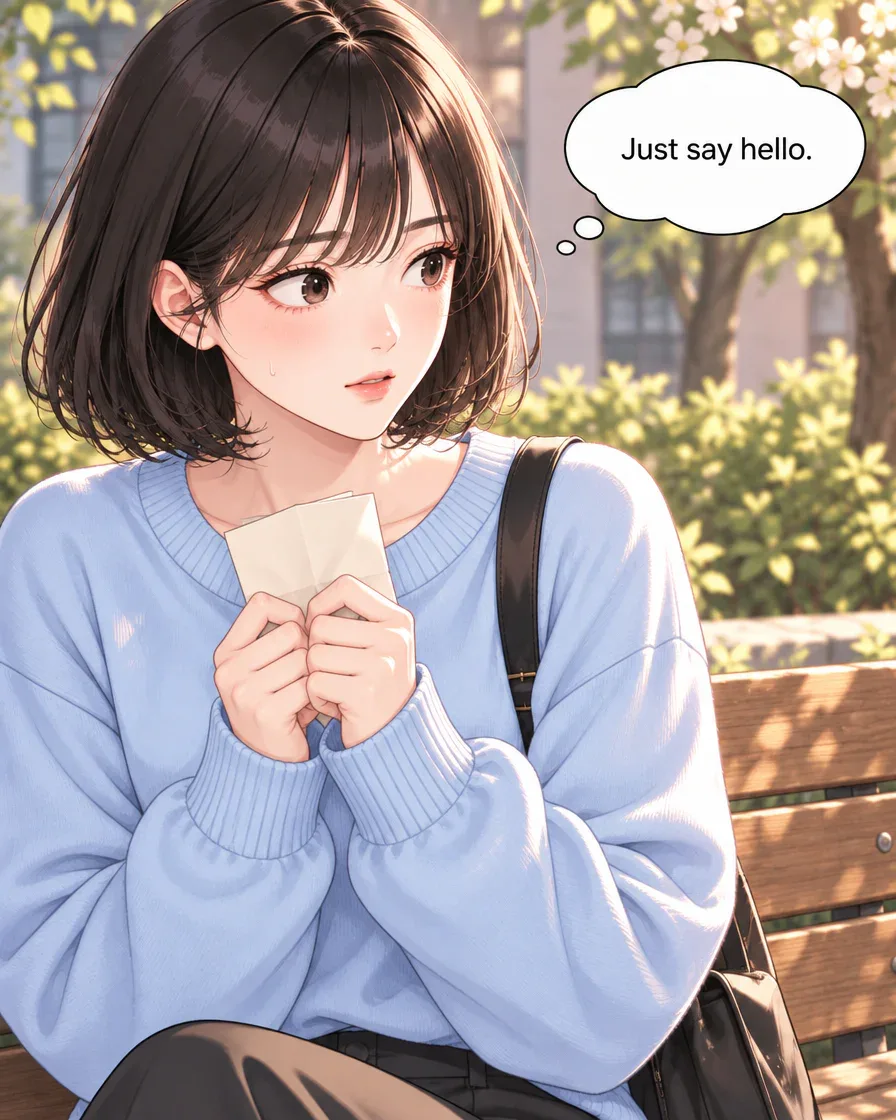
Panel 6Example generated in GenToon, panel 6 of 12. 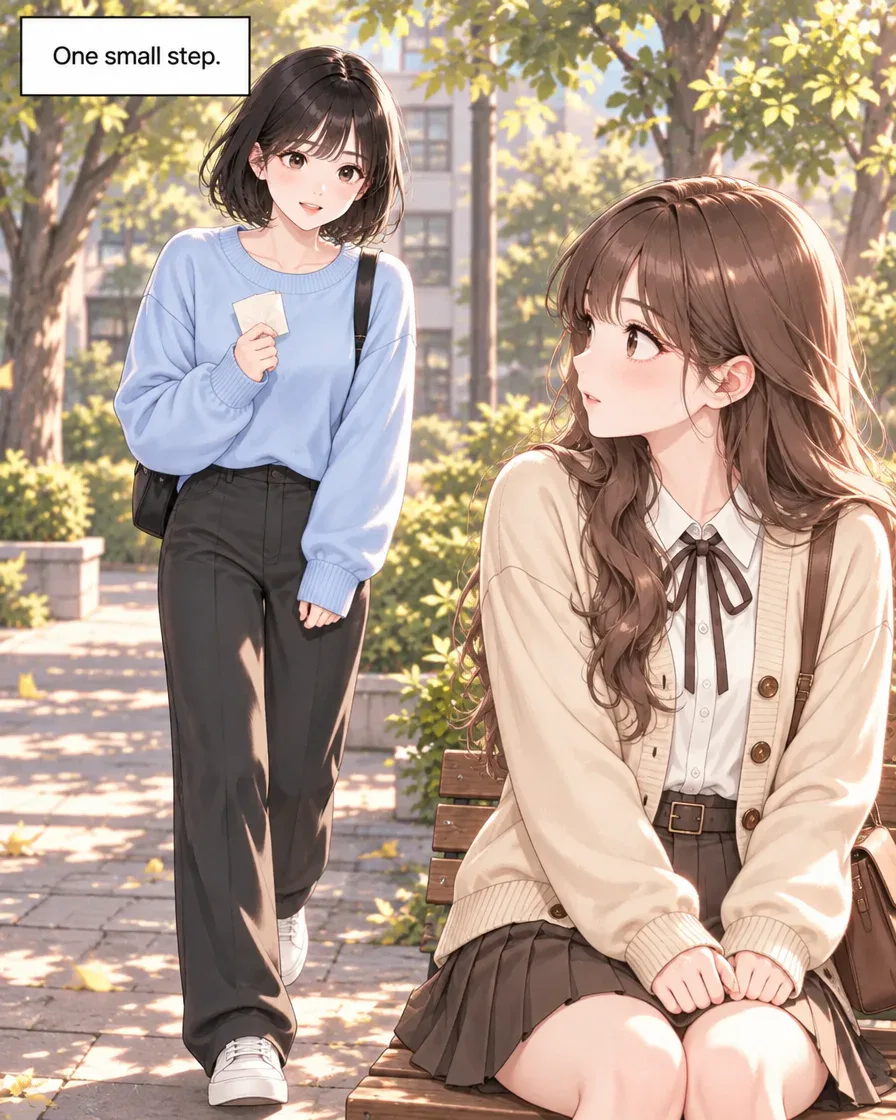
Panel 7Example generated in GenToon, panel 7 of 12. 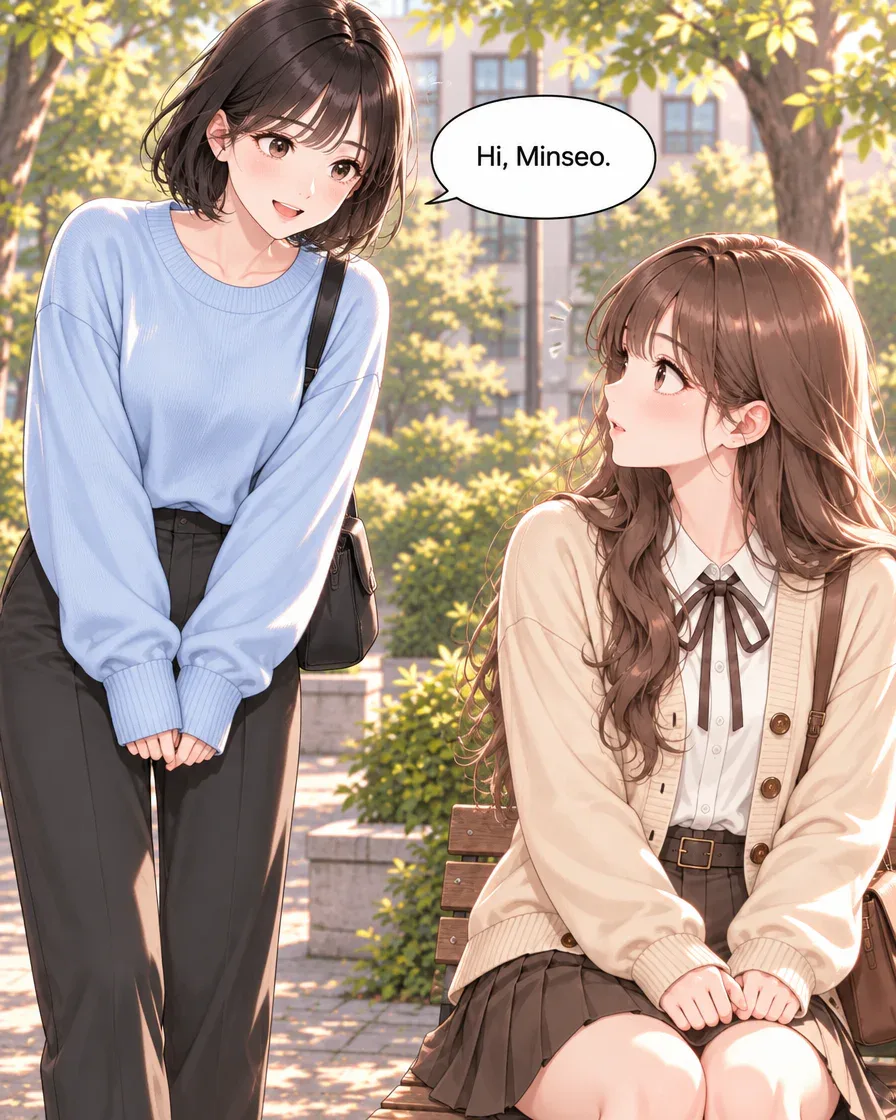
Panel 8Example generated in GenToon, panel 8 of 12. 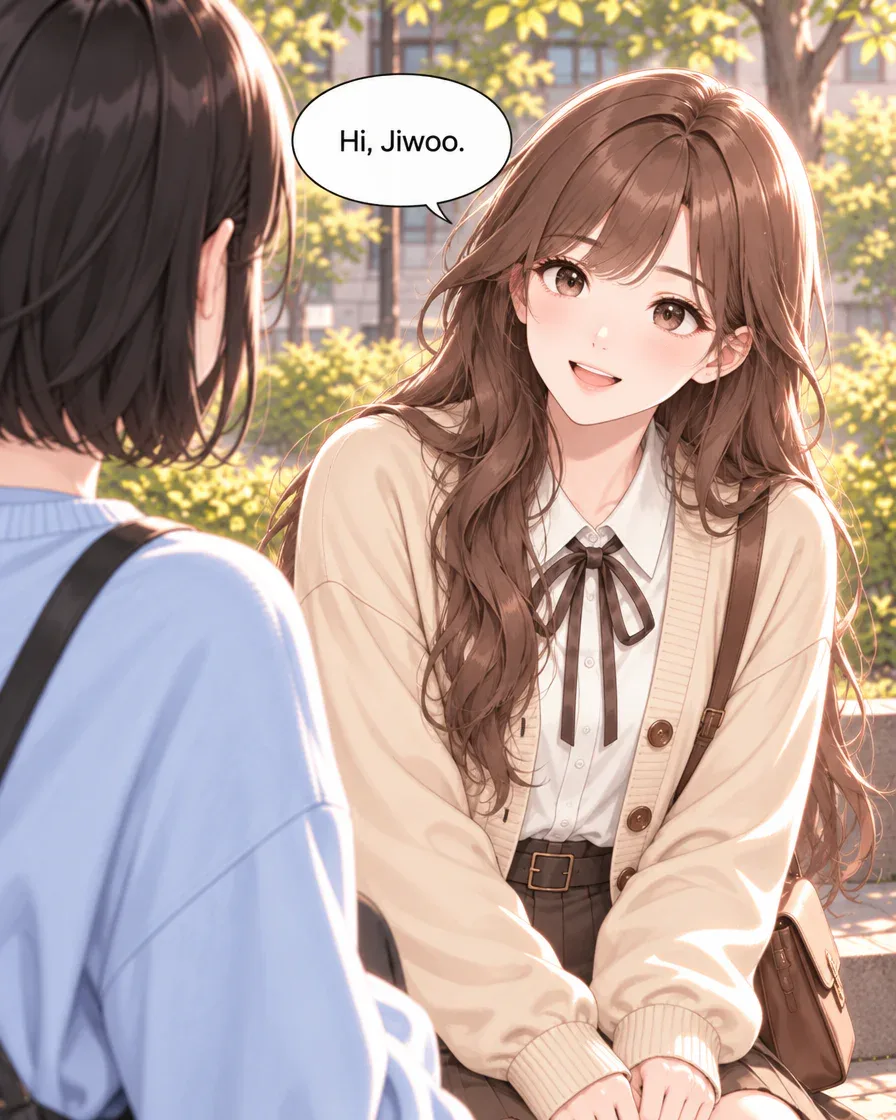
Panel 9Example generated in GenToon, panel 9 of 12. 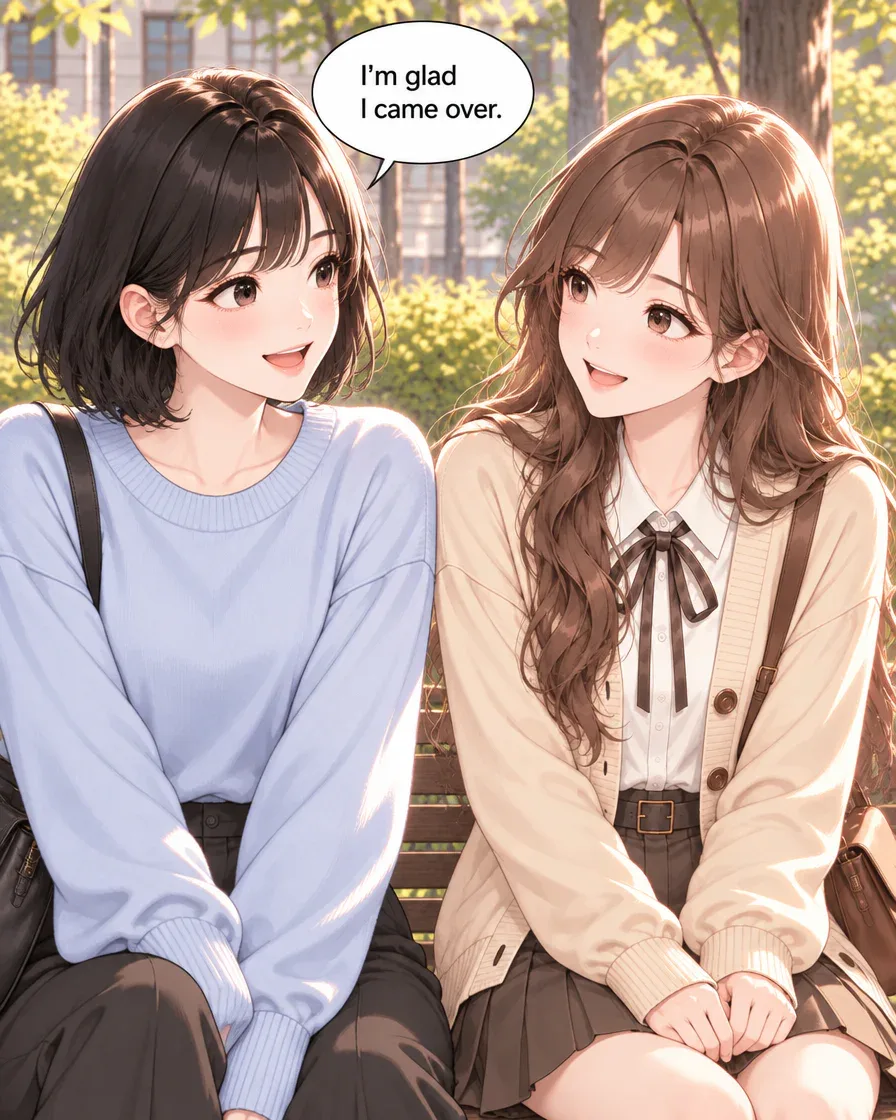
Panel 10Example generated in GenToon, panel 10 of 12. 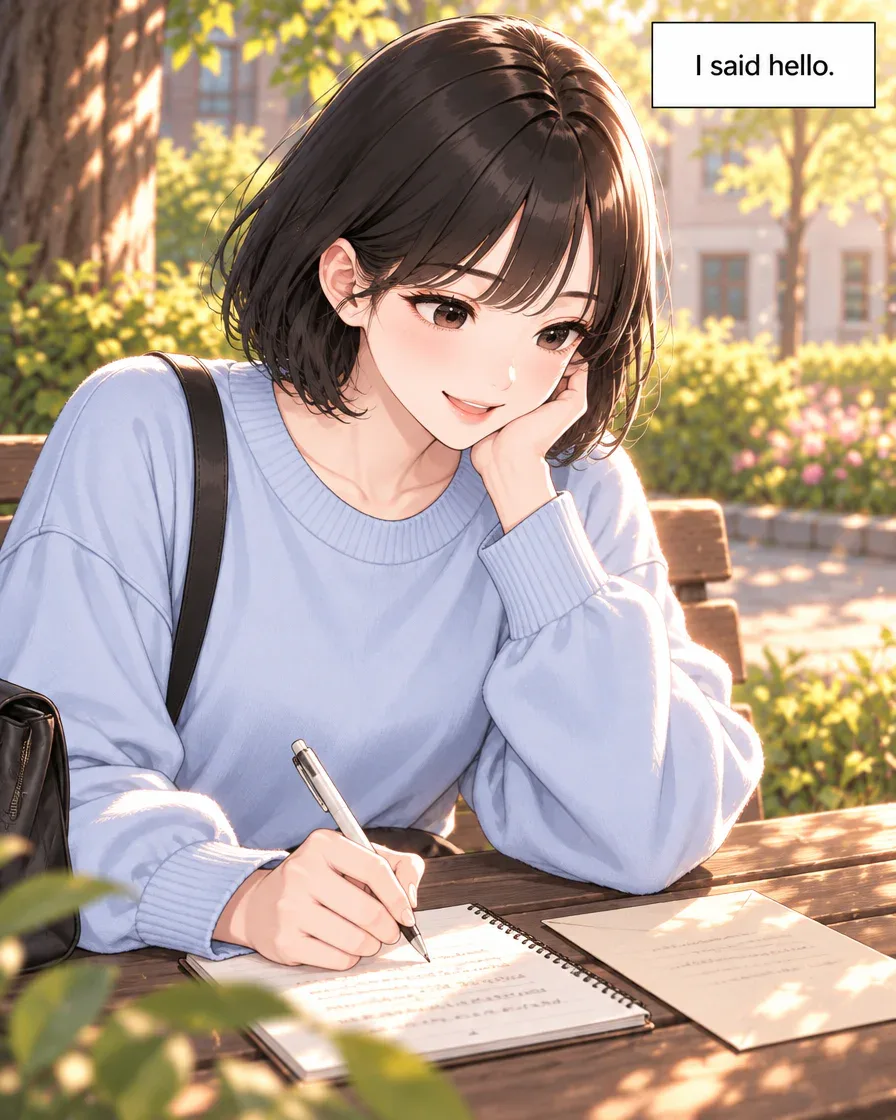
Panel 11Example generated in GenToon, panel 11 of 12. 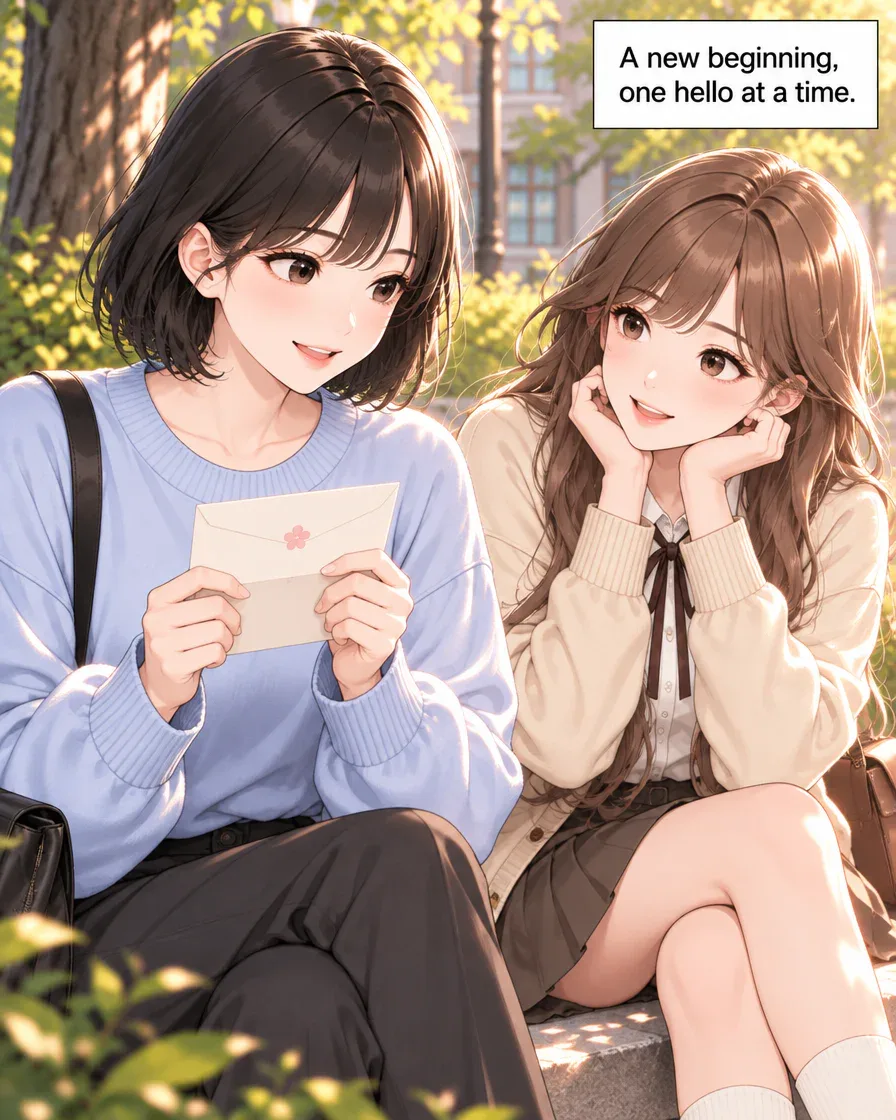
Panel 12Example generated in GenToon, panel 12 of 12.
Request for your own version
Jiwoo finds a future letter, greets Minseo and writes back. Make 12 panels with short English dialogue.
Art style used: Webtoon
How this example was made
- Start with the original request
The twelve-panel example began with a future letter, a greeting and a reply. The creation button prepares that original English request. Replace its characters and final action with a scene from your manuscript before sending.
- Review the scene before drawing
Read the new cast, scenes and dialogue in order. Edit the plan and check the displayed quality, panel count and credit cost. If an automatic countdown appears and you want to revise, use “Wait, let me change it.”
- Compare the result with your intent
Read the finished panels at phone size. Check who is speaking, what changed and how the final action follows the opening. Pick one concrete revision, then choose the action that will begin your next scene.
Inspired to tell your own story?
The 12-panel result above uses the original request. The four-panel practice uses a different request.
Create webtoons and chat with people.
The button fills the Studio input so you can edit it before sending. Check the plan and current cost in Studio before drawing.
See webtoons by other creatorsExplore different art styles and stories in the community.Quick answer
- Choose a scene you have permission to adapt.
- Turn the character’s decision into visible actions, review the cast and plan, make the panels, then read their pacing and arrange them for your intended format.
A letter dated tomorrow leads Jiwoo to greet Minseo. She holds the letter, walks across the courtyard, says hello and writes a reply. The twelve panels above are a fictional scene made in GenToon with the Webtoon style and English dialogue. Read the change from the quiet opening to the final reply before looking at the request.
Is there a moment in your own novel that you can picture but do not know how to show? Start with one decision: what the character notices, what makes them pause, and what they do next. Those actions give you a first scene to work with.
The five steps in this guide are to prepare the scene, check the cast, review and make the panels, read the pacing, and arrange the result. Use the example to decide what matters in your draft, then make a scene you can read, revise and continue.
Read the finished scene and its starting request
Jiwoo discovers the letter, approaches Minseo and writes back. A small action becomes a complete scene because we can follow what happens before and after the greeting.
| Panels | What to inspect |
|---|---|
| 1 to 4 | The envelope, the opened letter and Jiwoo’s reaction |
| 5 to 7 | Her attention shifts to Minseo and she walks over |
| 8 to 10 | The greeting and the two characters’ responses |
| 11 to 12 | Writing the reply and the feeling left by the ending |
The original request was short:
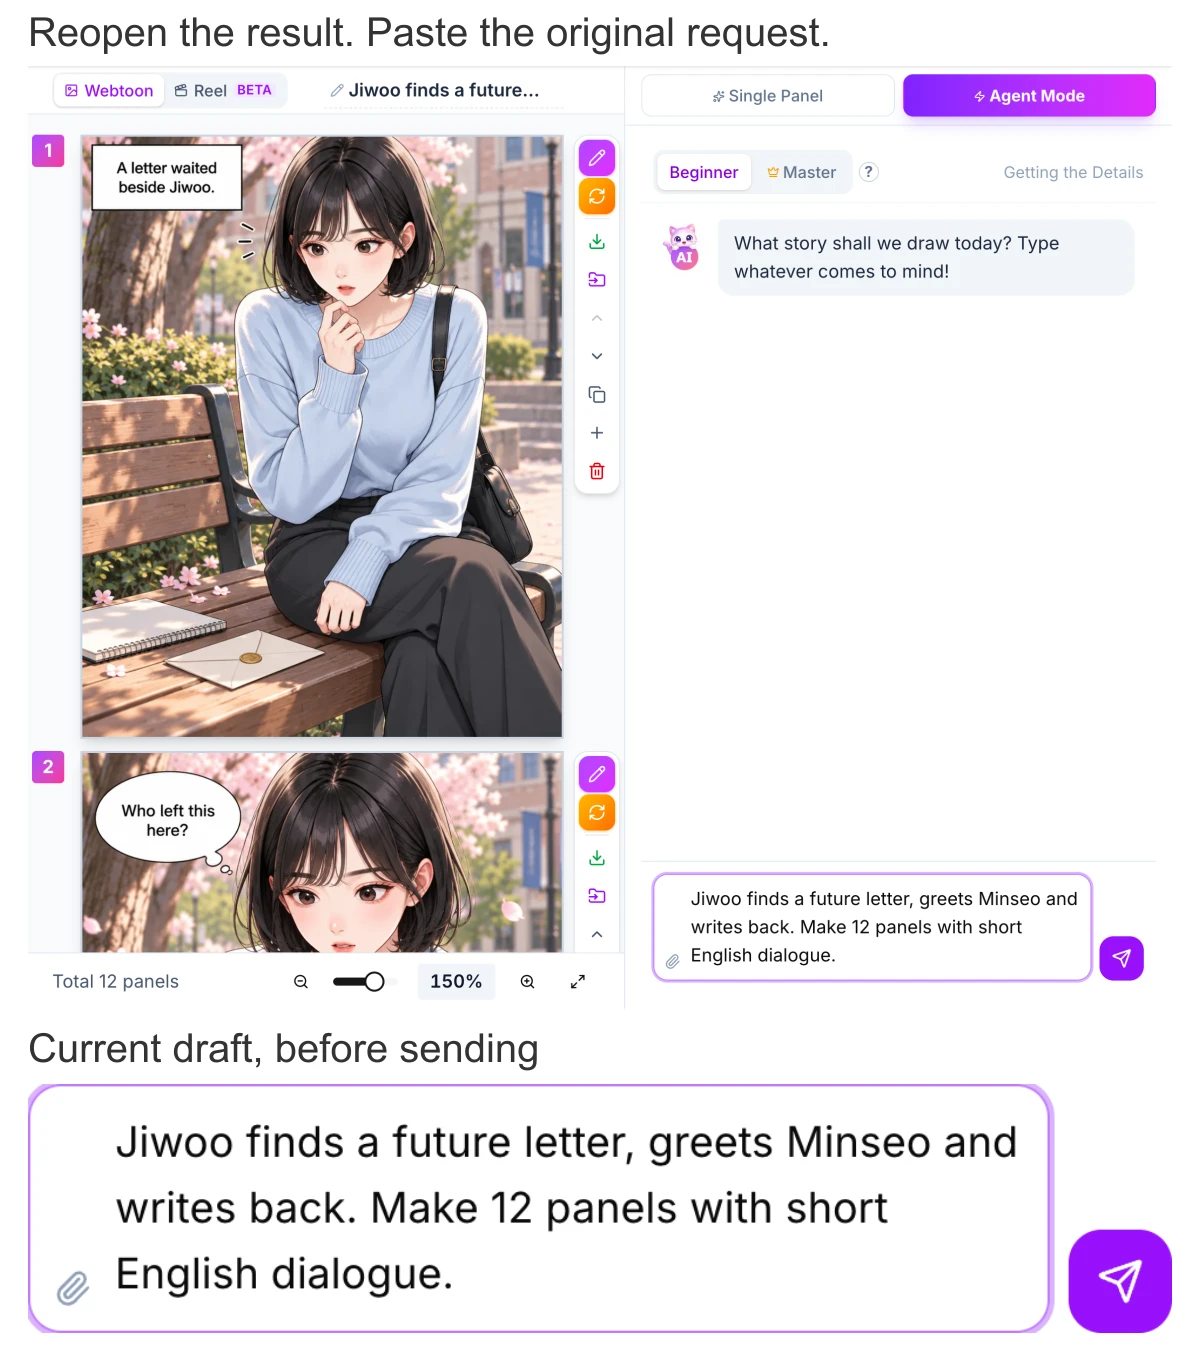
Jiwoo finds a future letter, greets Minseo and writes back. Make 12 panels with short English dialogue.
The Studio example below shows the completed project reopened with that original request pasted into the input field as a current, unsent draft. It helps you locate the input field and compare the request with the finished scene.
Use the article’s creation button in the same tab to prepare this request in Studio. Sign in if needed, then replace the characters, the decision and the final action with a scene from your own manuscript. If you open Studio directly, paste your request into Agent Mode. Read it before sending.
Choose a scene you have permission to adapt
Prepare a manuscript you wrote or material you have permission to adapt and share. For a co-written story or a work covered by a publishing agreement, check who controls adaptation rights before making a public version.
| Material | What to check before using it |
|---|---|
| Your manuscript | Which scene and dialogue you want to include |
| A co-written or contracted work | Permission to adapt and the intended place of publication |
| Reference images or character designs | Permission to use the image and the design |
Keep a note of the source and any agreed limits alongside your scene brief. That gives you a clear basis for reviewing the panels and deciding where to share them.
Step 1: Turn prose into visible actions
Choose the point where a character makes a decision. In the example, the letter leads Jiwoo to notice Minseo and say hello. The action, the greeting and the reply carry the scene; the request does not need to reproduce a whole chapter.
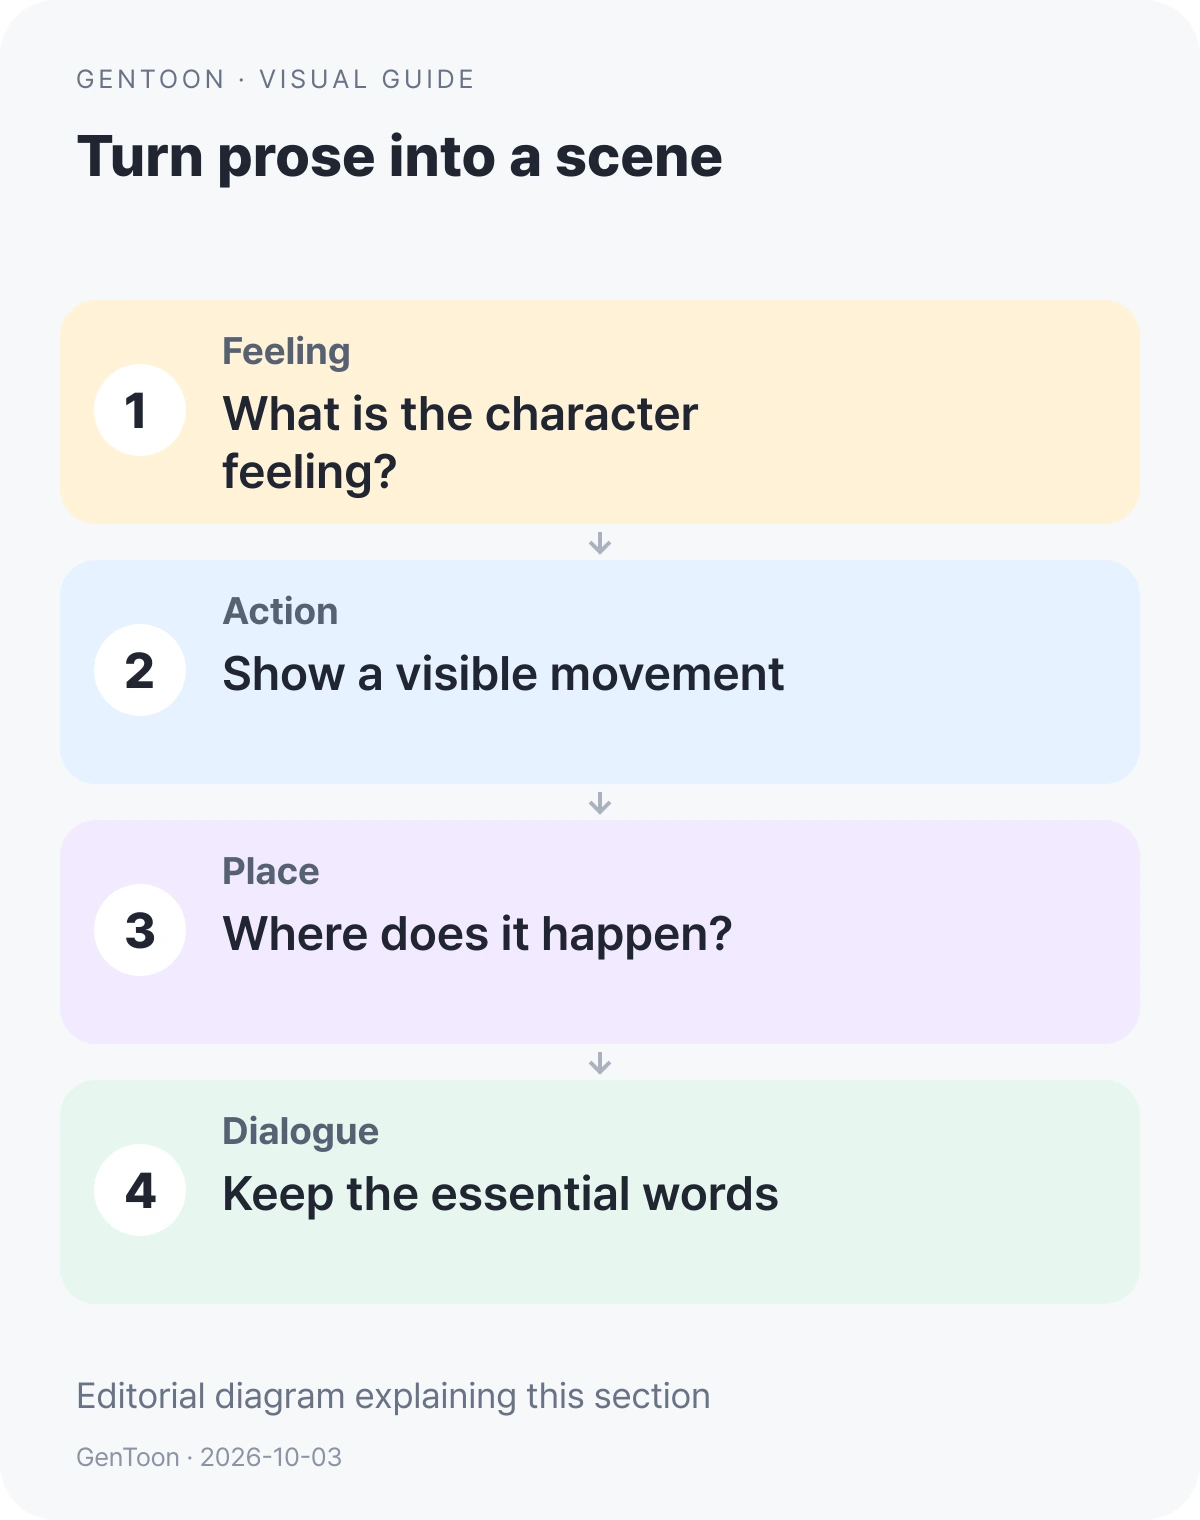
Write a short scene brief before opening Studio:
| Part of the scene | What to write |
|---|---|
| Cast and relationship | Who is present, and what matters between them? |
| Opening | What does the character see or hear? |
| Choice | What visible action shows the decision? |
| Ending | What changes, and which words should remain? |
Turn an internal thought into something we can see, such as a hand tightening around a letter or a glance toward another person. Keep a line of narration when the action alone would lose an important meaning.
Read your brief beside the original prose. Check that the reason for the choice and its consequence still belong to your story.
Steps 2 and 3: Review the cast and make the panels
The diagram below pairs notes recorded for this example with the finished panels. The scene notes are already in English. Two speaker labels were recorded in Korean; the reading version renders those labels as “Jiwoo.” The original record is preserved separately.
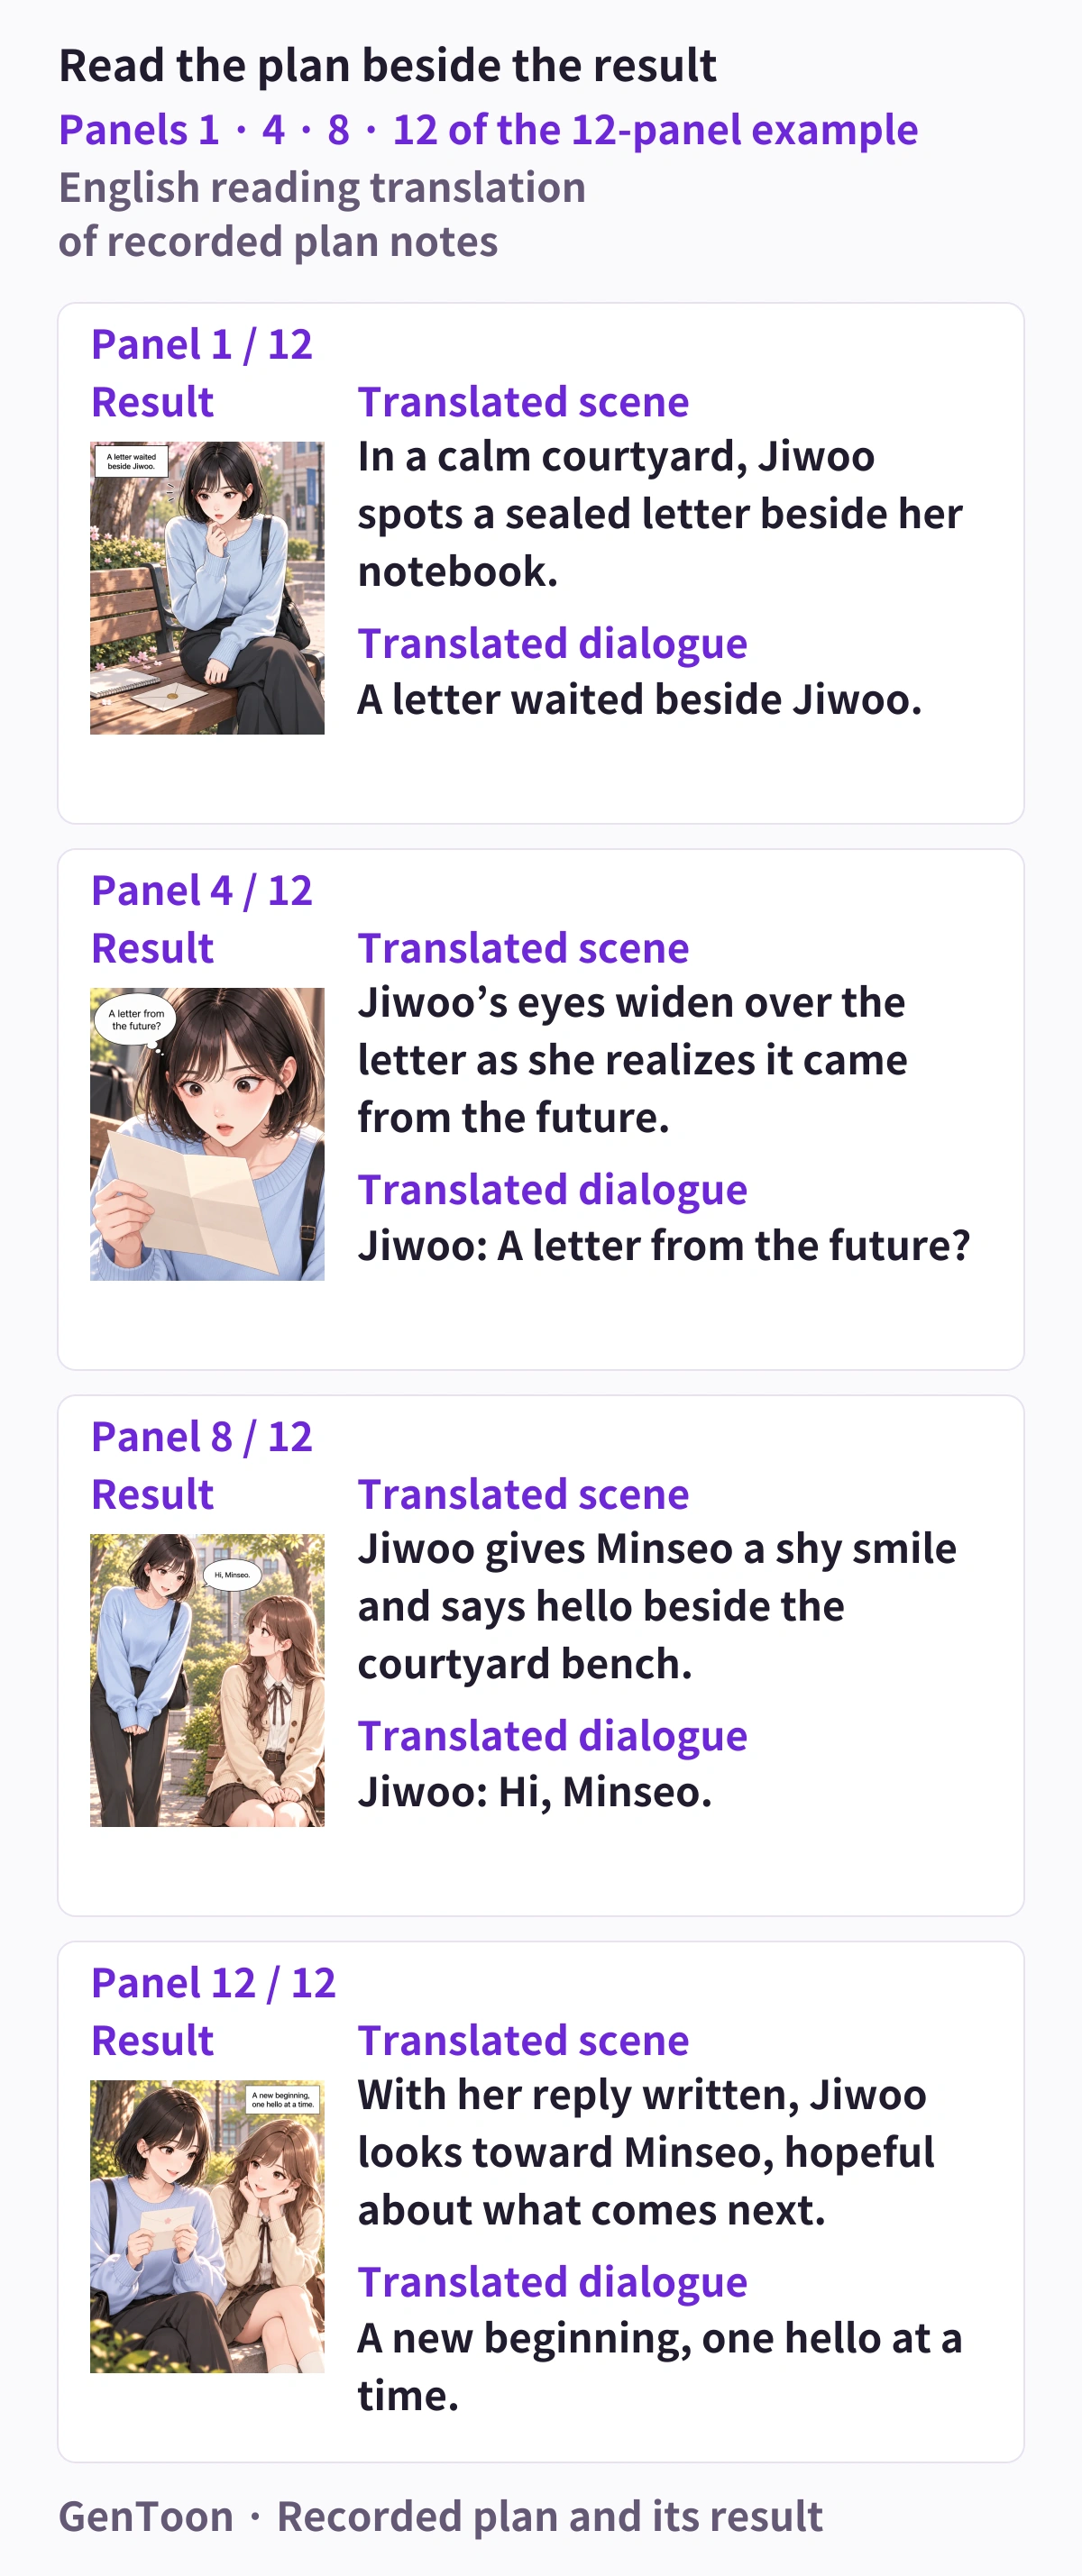
| Panel | Recorded scene | Recorded dialogue, English reading version |
|---|---|---|
| 1 | In a calm courtyard, Jiwoo spots a sealed letter beside her notebook. | A letter waited beside Jiwoo. |
| 4 | Jiwoo’s eyes widen over the letter as she realizes it came from the future. | Jiwoo: A letter from the future? |
| 8 | Jiwoo gives Minseo a shy smile and says hello beside the courtyard bench. | Jiwoo: Hi, Minseo. |
| 12 | With her reply written, Jiwoo looks toward Minseo, hopeful about what comes next. | A new beginning, one hello at a time. |
Compare the recorded dialogue with the lettering in each finished panel. A plan describes the intended scene; reading the actual image tells you whether the action, expression and words came through.
For your own version, use the prepared request in Agent Mode and send it when the scene is ready. Read the new plan before drawing.
- Check that the right characters appear and that the scenes follow your chosen decision.
- Edit the Scene and dialogue fields for individual changes. Describe larger changes in the chat.
- If an automatic drawing countdown appears and you want to revise, select “Wait, let me change it.”
- Review “Draw as-is” and the displayed quality, panel count and credit cost before proceeding.
This example uses the Webtoon style. Choose a style for the expression you want to show, and use saved character references when available. Keep an appearance note with the details you will compare across the finished panels.
Steps 4 and 5: Read the pacing and arrange the page
Read Jiwoo holding the letter in panel 6, walking over in panel 7 and greeting Minseo in panel 8. Each panel contributes a different action. The reply near the end gives the greeting a consequence.
In your own scene, keep the actions and reactions needed to follow the choice. If two panels repeat the same information, decide whether both are needed. If the reader misses an important reaction, make that moment clearer.
This example consists of separate 4:5 panels. Arrange your saved panels in story order for the format you intend to share. For a vertical page, inspect the gaps, the order of speech bubbles and the text size as you scroll on a phone.
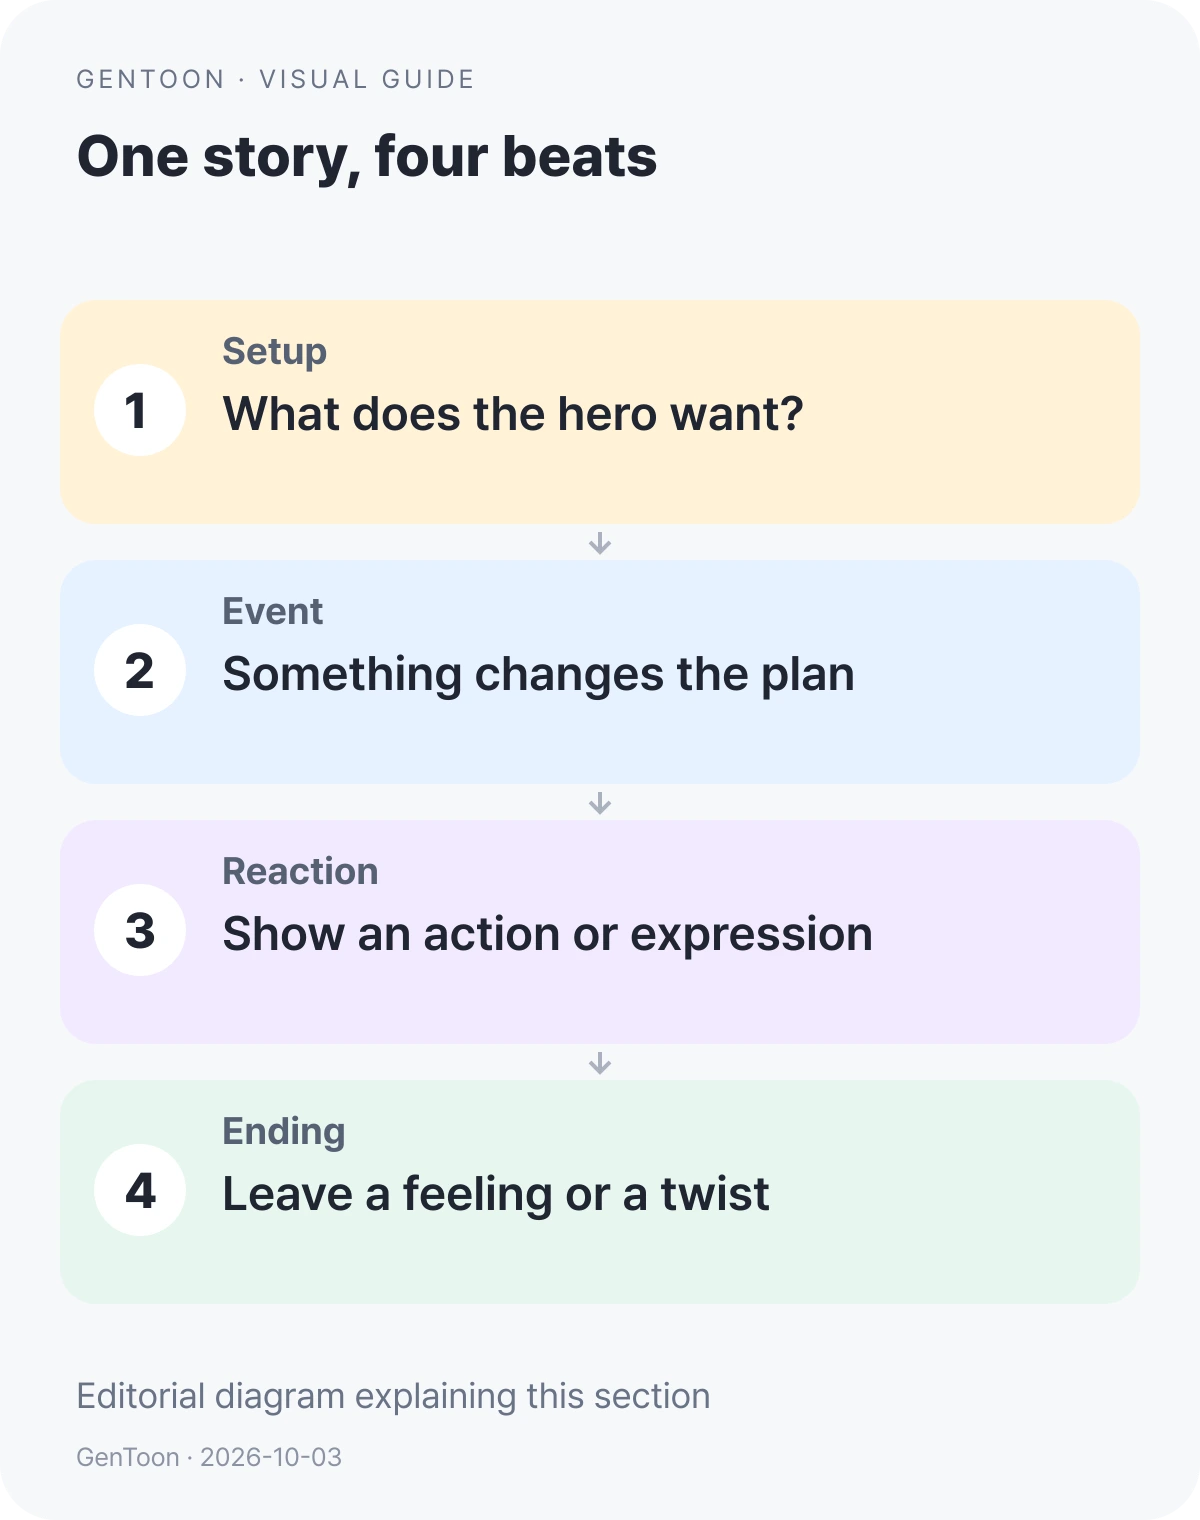
The diagram below is an editorial guide to story beats, not the original plan for the future-letter scene. Use it to check the opening, change, reaction and ending in your own page.
Review your first scene, then choose the next one
Read the finished page without explaining it aloud first. Can you identify the characters, follow the choice and read the ending as a response to what happened earlier? Ask a reader to point to the panel where they think the character’s mind changed.
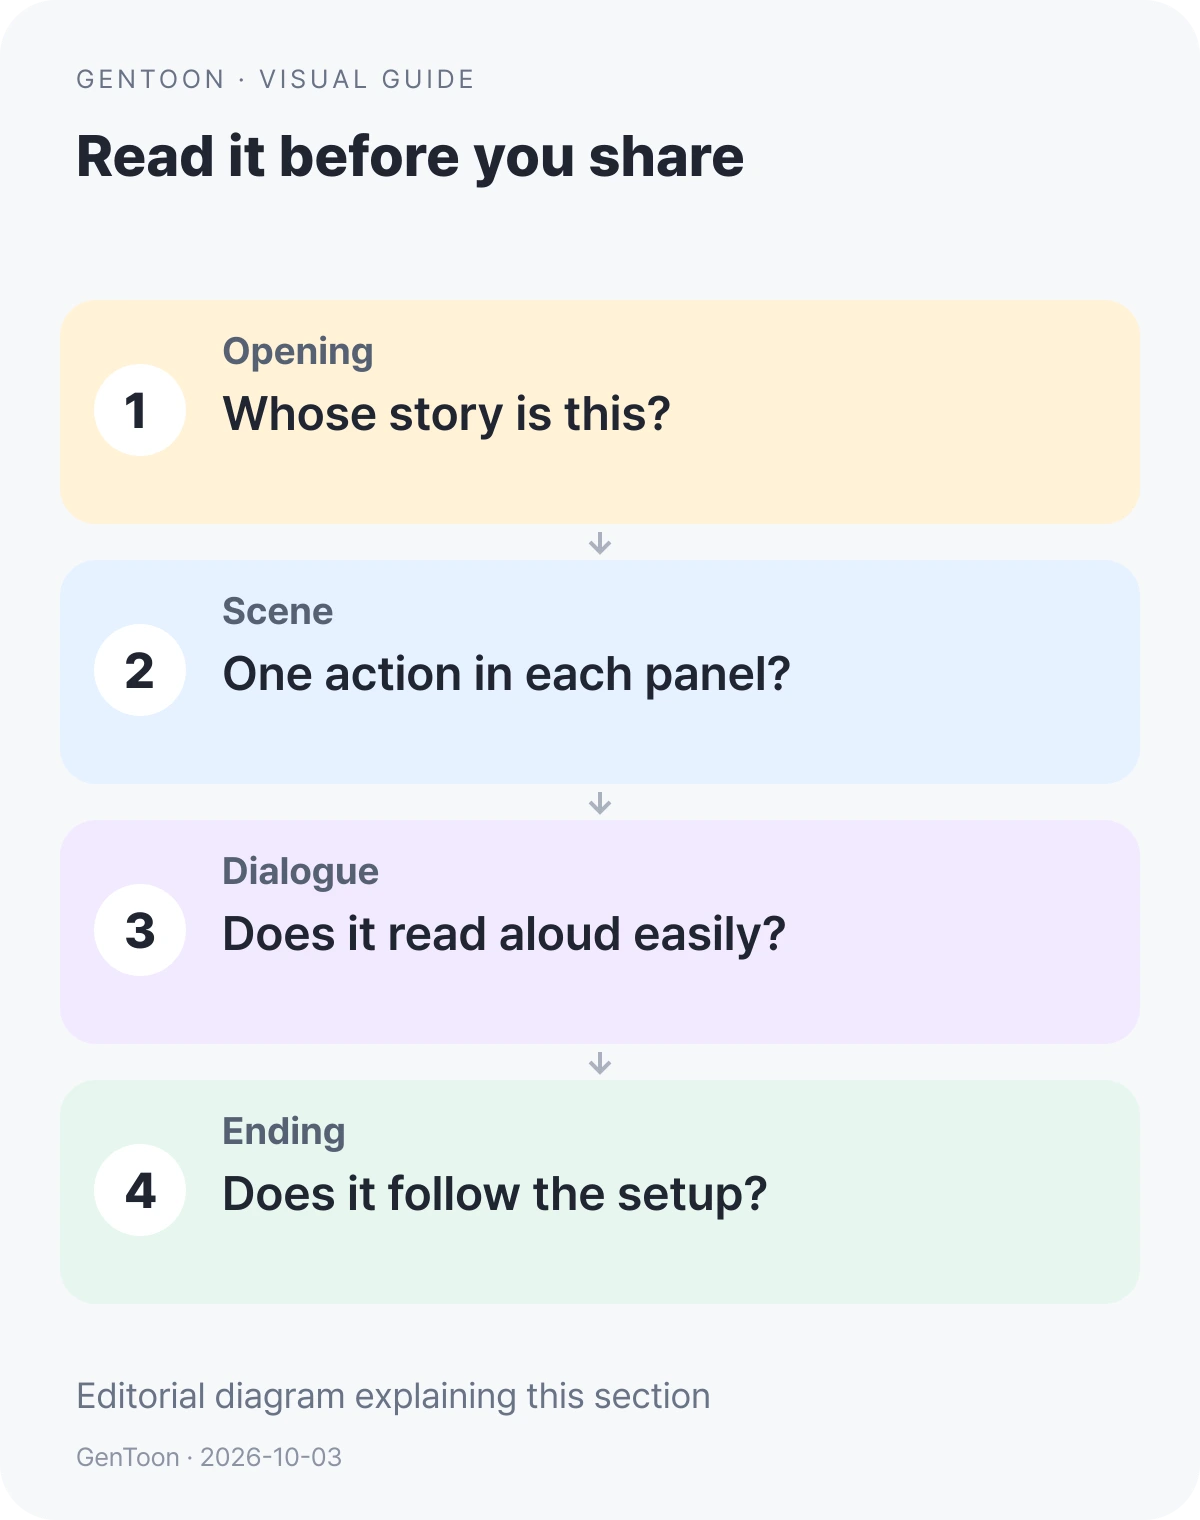
| Review | A concrete change to consider |
|---|---|
| A line is hard to read | Shorten that line while keeping its meaning |
| A character is hard to identify | Compare the hair, outfit and visible features with your reference |
| A choice feels sudden | Clarify the action or reaction that connects the moments |
| The ending feels detached | Check what the final action answers in the opening |
Take one scene from your manuscript to make your first novel scene. Write the characters, the choice and the words you want to keep, then review the new plan and its cost. After drawing, pick one change you can describe clearly.
For the next scene, decide what happens after that choice. Keep your appearance and dialogue notes as comparison material. If the work is ready to share, post it in the GenToon community and ask about a specific moment, such as whether the greeting feels earned.
Once you know the scenes and revision work you want to make, compare the current plans for the credits and conditions that fit that work.
Frequently asked questions
Can I adapt any novel, or should I start with my own?
Start with a story you wrote or material you have permission to adapt and share. Check co-author and publishing agreements for adaptation rights, and confirm permission for reference images or designs you use.
How long does it take to make one chapter or panel?
The work depends on the scene, panel count and revisions you choose. Prepare a scene brief, review the plan, then inspect the finished panels. Use your first completed scene to decide how much you want to make next.
Can I start if I cannot draw?
Yes. You can describe the characters, actions and dialogue in text. Your task is to choose what the scene should show, then read and revise the generated images.
How do I keep a character recognizable across scenes?
Use saved character references when available and keep notes on the hair, clothes and features that matter. Compare each finished panel with that reference. Describe the specific detail to change when a panel needs revision.
Is GenToon free?
GenToon offers a free plan. Check the current plan conditions and the balance shown in Studio. Before drawing, review the selected quality, panel count and required credits, including any new character or revision work.
How many panels should a novel chapter become?
Choose the actions and reactions needed for one scene rather than assigning a fixed number to a chapter. This example uses twelve panels. Your scene may need a different count; read the plan for missing or repeated moments before drawing.
Can I make a vertical-scroll webtoon?
This example has separate 4:5 panels. Arrange saved panels in the vertical layout you intend to share, then inspect their order, spacing and lettering on a phone. Decide the intended reading format when planning your scene.